Tuesday, November 17, 2020

Wood Journal-Making

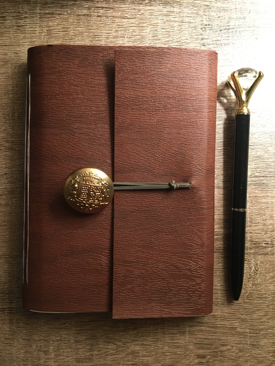
Wood Journal


I saw some really great book binding DIY crafts so I wanted to try it!  You can consider expanding this to a kid-friendly activity by making the pages have coloring pages or fun games that are available as printables on many websites.  Additionally, you can consider leveling this up a notch for adults with mandala coloring pages, motivational quote pages, or even calendar printables.


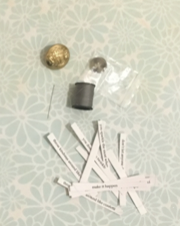
Products Used:

Button

Needle & Thread

Sticker cut-outs

Ruler

16 pages of printer paper

Something to poke a small hole (Cricut tool)

Wood felt 12”x12” square

Not pictured:  Rubber band, scissors, pen


First, fold the wood felt so there’s a little lip for the book cover and cut in half.  This will give you two journal covers to make instead of one.  For this project I only worked on the first one and the approximate time it took was about an hour and a half. 
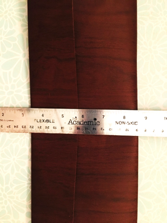


After you have the two journal covers, we’ll begin working on the inserts.  First, fold the paper longways and then measure how big you want to pages to be and make two marks with the pen on where your binding holes will be. 


Then, use the single folded page as an example.  I started with 4 pages at a time to fold and cut, which cut (J) the time in half, but doesn’t give you a super straight line so I would recommend bringing it down to 3 pages at a time to fold and cut accordingly.
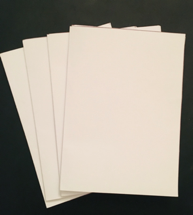


Then, line up where you anticipate will be your middle inserts and then make a mark with the pen on the inside of the fold on the wood felt.


 You will now be able to make your four binding marks on the inside top and bottom. 


Use a tool to poke the holes in the felt.  I used a Cricut tool which allowed for a small hole, this will be very important for you to consider.  If you have a sewing machine, the size of the needle on the machine will be ideal.


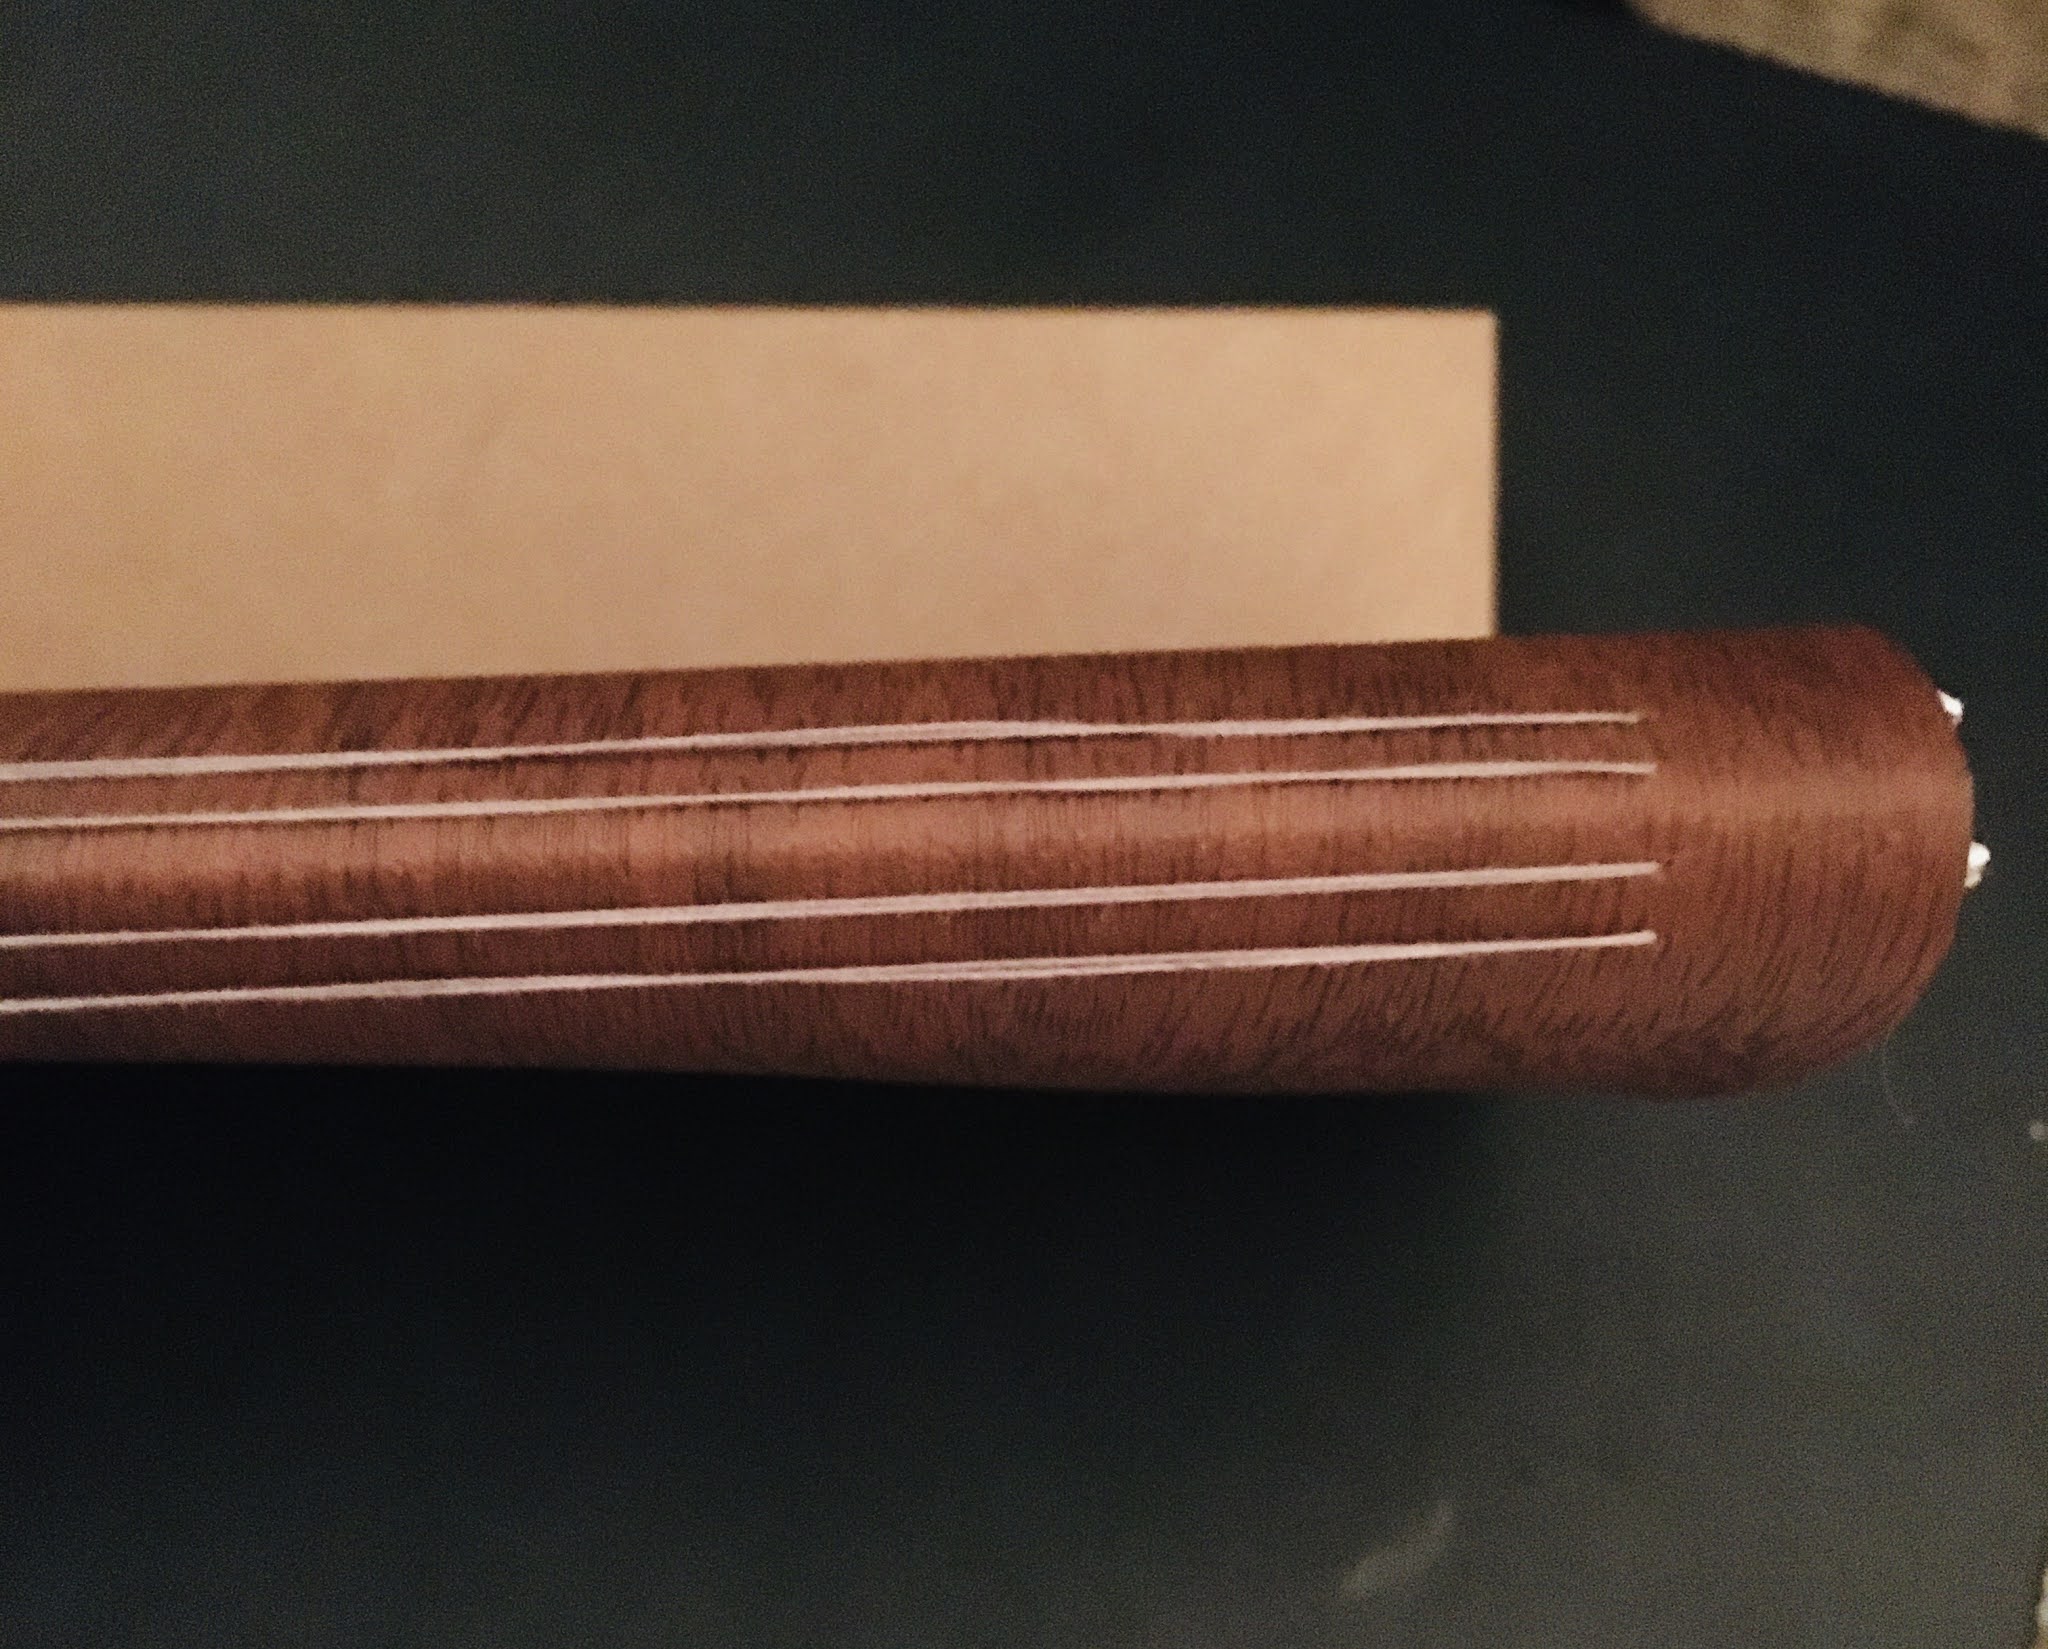
Then, you’ll want to push the needle and thread through the cut holes and secure them very tightly using a knot-tie.   

If you have been able to keep your pages tight and straight lines, this is how the book binding will look like:


Secure the button using the same needle and thread, and then match up where you will have to poke a hole where the rubber band will go through.  Make sure you

make a knot on the inside of the cover as well as the front to give it a nice look.


Add any embellishments, such as stickers to friends or printables for the kids or other ideas.


And presto, here is the final product!!! 


Saturday, October 24, 2020

Autumn Leaves Candle Holders

I want to start by saying I’m not a fan of crafts that waste food. I get irate, especially when I see crafts that involve wasting rice, like using rice in stress balls. In the past, rice was used to pay taxes, so to waste it is literally like wasting money and not to mention all the starving people in the world including here in the USA. That being said, I do use flour in this craft which is wasting food since you can use flour to make bread and other baked goods. But, here’s the thing, when the Covid-19 restrictions were in full swing a lot of things were out of stock in the grocery stores and online including flour. 


I usually use unbleached all-purpose flour for my baking, and my favorite brand is King Arthur Flour (not sponsored, fyi) it is a wonderfully soft and silky and beautiful flour that makes extraordinary food when you bake with it. And, it was impossible to find for weeks, so I ended up with my least favorite flour as my only option, that being bleached all-purpose flour. I hate this type of flour but it was all I could find. It’s hard to explain how bad it is, the texture, it’s clumpy and dry and the way it bakes; everything about it is awful (just my opinion). The process of making it is awful as well, you strip away everything good about the flour then bleach it to make it white then “enrich” it by adding vitamins back into it. And just the idea that flour needs to be “bleached” is offensive to me.  But I ended up with tons of it leftover when my good flour came back into stock so rather than waste the bleached flour I used it to make ornaments for Easter and I thought it would be fun to make more ornaments and candle holders with a Fall/Autumn theme.


Step 1: Gather Ingredients and Materials and Making the Dough


For this craft I used Salt Dough. There are lots of recipes for it online. It's two parts flour, one part salt, about one part water, and a little oil to bring it together. Some recipes don’t use oil but I think a tablespoon or two helps make the dough easy to shape. I like thinking of this recipe in “parts” rather than cups because you can adjust it if you want to make a lot or a little. But if you need help then you can do it this way: 2 cups flour, 1 cup salt, 1-ish cups water, one or two tablespoons of vegetable oil.


The reason why the oil and water are not exact is because it will depend on the type of flour you use, so start with one tablespoon of oil and maybe ¾ cup of water and see if your dough is coming together, and if it’s not smooth at more water and oil until it looks a little like clay or playdough. (I want to credit Sherri Osborne for the recipe I used)


Step 2: Rolling and Cutting Shapes


If you have Fall/Autumn themed cookie cutters then the next part is easy, just roll out the dough to about ¾ of an inch and cut it out. I don’t have those kinds of cookie cutters so I made a template with some cardboard and used that to cut it out with a butter knife. 


Then you can add whatever lines or details you want on your shapes. I did some veins on these leaves with the back of a butter knife. You could also use real leaves to make an indent on the dough.


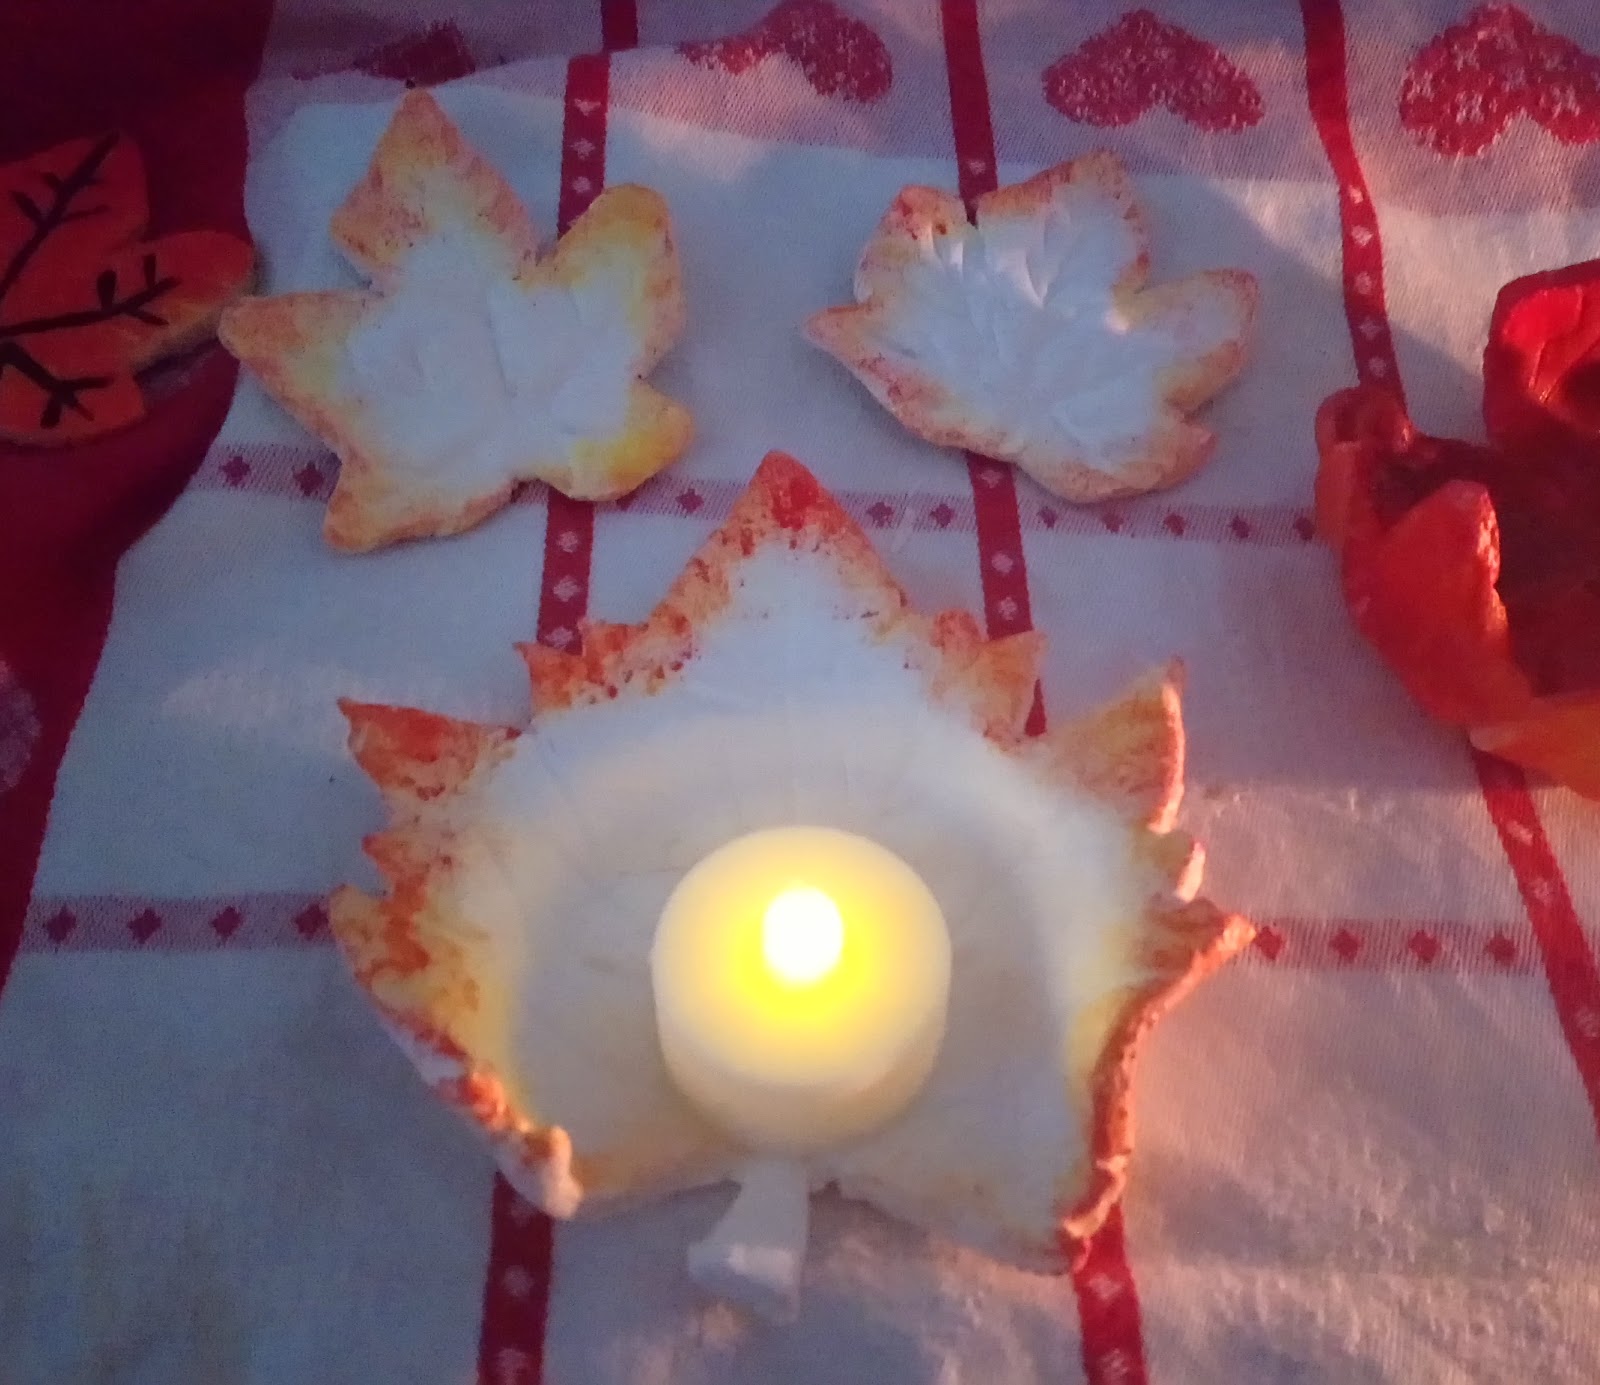
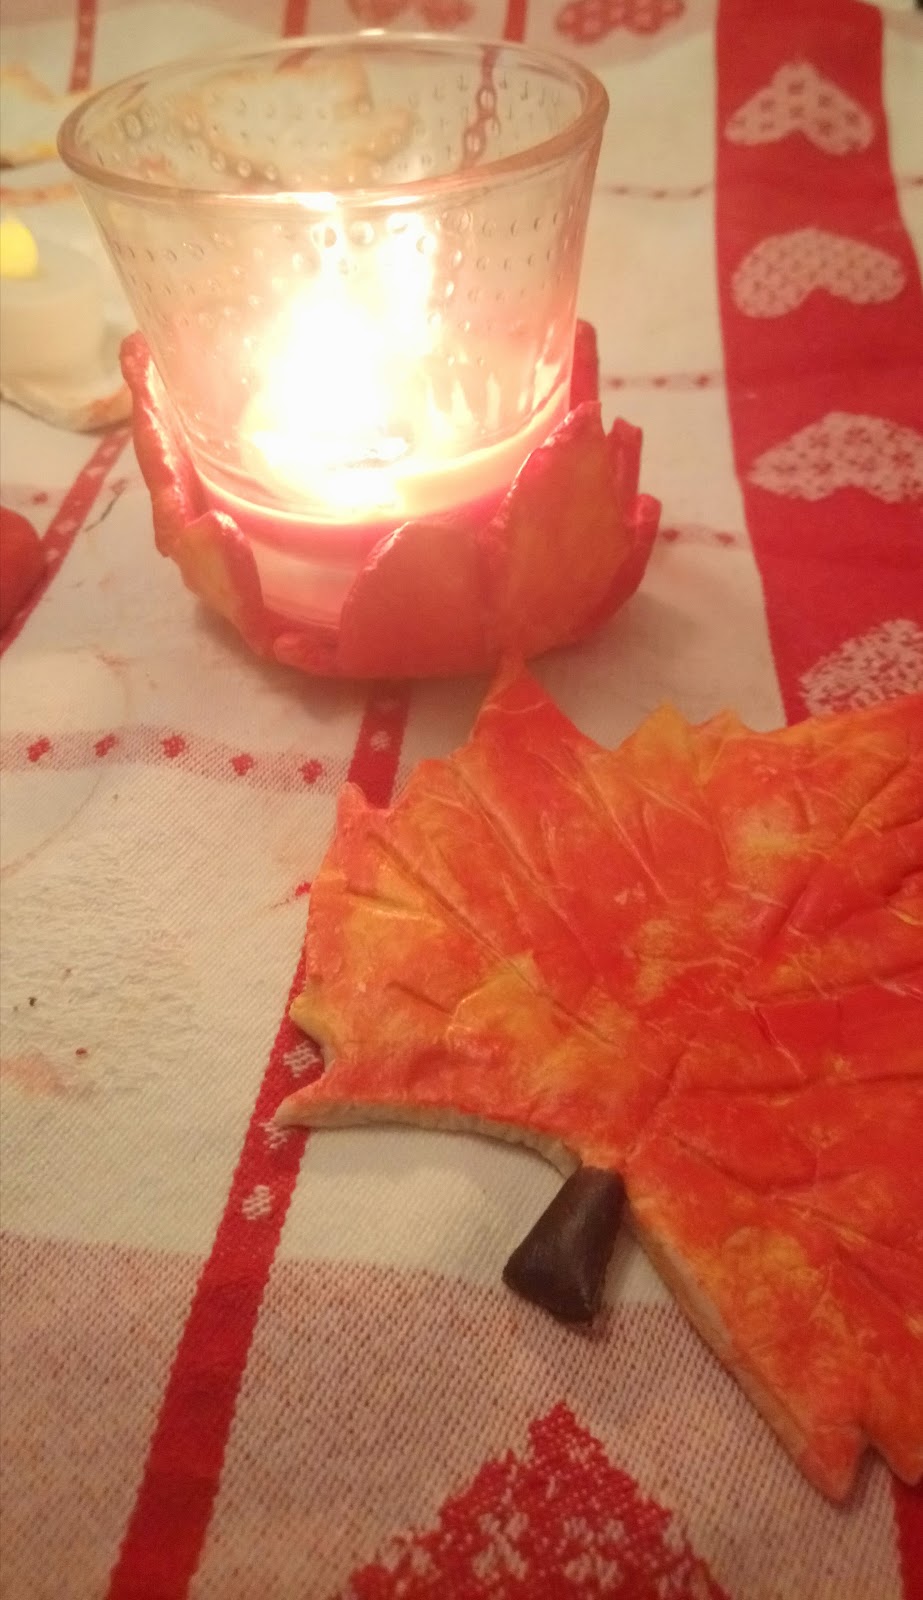
For the candle holders I tried a few different styles. One I put into a ramekin to create a cradled shape, one I took small dough leaves and folded them over a ramekin to create a cup shape, one I put over a ball of foil to make an indent for the candle. For the one I did with the foil, you should make sure the bottom is flat by putting another ramekin on top or something flat and oven safe because I did not do that and my candle holder didn’t have a flat surface on the bottom when I flipped it over. I also made a few pumpkins and other leaves just for fun.


Step 3: Bake the dough


The next step once you have all your shapes is to bake them. You can also let them air dry but it will take several days if not weeks and I find that baking them makes them a bit more sturdy than air drying. I baked mine at 250F for an hour and then removed the one in the ramekin so it could bake fully. It took another hour for them to be a bit more dried out and then I lowered the temperature to 200 degrees and baked a while longer and left them in the oven with it off overnight. The baking time will depend on how thick your decorations are so you just have to keep checking. They should not ever brown like a baked good, if they start to brown your oven is too high and you should reduce the temperature. When they no longer look “raw” then let them cool. They should be hard and not pliable or soft to the touch.


Step 4: Decorating


Once they dry and are totally cool you can paint them. But you want to sand down any rough edges first. You can use sandpaper or a nail file.


Even though the flour is bleached if you want a white ornament I suggest painting it white, you can see below the difference in color when you paint it verus the color of the baked dough. I know for Farmhouse style white is really popular; that’s why I did a few white, but I need some color, I can’t do all white.


I use acrylic paint and sealed it with Mod Podge for shine and to protect the color. I suggest letting the paint dry for several hours to overnight before adding more coats. These salt dough ornaments can resist painting and if you try to paint more than one coat before it’s totally dry your second coat can make the first coat peel and the same is true with Mod Podge. Make sure your paint is totally dry before you put the Mod Podge coat on. You could probably also use a spray sealer but I haven’t tried that.


Once the Mod Podge is set you can display your decor. I recommend only using electric candles! I used a real one here just for demo, if I were going to use this for decorating I would get a large electric candle but I only have the tea light size which is too small for the holders. Also, I wouldn’t put anything too heavy in them because they are study but not unbreakable. You can use the smaller decorations as refrigerator magnets by adding a strong magnet to the back or you can add them to a Fall/Autumn wreath. 


I know this seems like a kids craft and it can be, but I think adults can enjoy it also. I really enjoyed painting the leaves and pumpkins. I think these would make nice gifts for someone or you could make several of the same style like the white ones I made and use them as a centerpiece for your table. Once they’re painted and sealed they look a lot like some of the clay items you might see at a store but at a fraction of the cost. You could easily get everything you need for this for under $5. And if you wanted to you could use gold or metallic paint to give it a high end look. 


Friday, October 9, 2020

Pumpkin Painting

Continuing our Fall pumpkin theme, Michaels had featured artists and their beautiful painted pumpkins, so I thought I would give it a try.  Now to be fair, I have held a pumpkin painting party in the past with friends, so I’m no rookie!  It is very easy and is a great way to get the kids, parents, grandparents, and everyone in the house involved and using their creativity to design and paint one-of-a-kind pumpkins.


I saw pumpkins for sale online at Michaels, the plastic ones, and I opted for two of these.  Why didn’t I go for real pumpkins?  Well, I wanted to make something sustainable that I can reuse over time.  Feel free to opt for real pumpkins, especially if you are looking for beautiful door décor as these will provide great weight in the wind and outdoor elements since the plastic ones are very lightweight. 


Products Used: 

- Two 9” Craft Pumpkins by Ashland at Michaels 
- Folkart Home Décor Chalk Paint in Sheepskin by Folk Art at Michaels 
- Martha Stewart Satin Surface Acrylic Paint in Beach Glass at Michaels 
- A 2” flat paintbrush and two small detail brushes, both available at any craft store


I had to paint the top half separately from the bottom half because I had to flip it upside down.  You can only do that when the top is dry.  The pumpkins took two layers of white chalk paint with about an hour in between for drying time.  

To be honest, it was very challenging to wait!  Now I fully understand the phrase “it’s like watching paint dry”.  So I started working on another craft for the holidays in the down time- which was about three hours of waiting for paint to dry between layers.  

Moral of the story, have another craft project going at the same time as this one!


I recently purchased some leaf stencils for another craft project, so I was inspired by the leaf theme for the first pumpkin.  I used another darker color of blue paint (not pictured) to add some more interesting colors in the blue/green family.  

For the second pumpkin I thought of a classic Kate Spade polka dot theme because I love polk dot décor.  Both were very easy designs and don’t need a super stead hand – hint, I do not have a steady hand.  


Some other designs I have seen are floral, tie-dye, stripe, or even sports-themed pumpkins.  It’s pretty much a blank canvas :)  Just know that if you opt for a more neutral Fall theme you can put out your pumpkins in late August, versus a more Halloween-theme pumpkin.  

Happy Fall y’all!

Monday, September 14, 2020

Cork Board Earring Holder

I did a Fall themed craft where I upcycled an old broken picture frame into a decorated chalkboard. But, I didn’t like how it turned out. It didn’t really say “Fall” to me so I’m going to think of a good fall craft to do for the next blog. But for now I decided to take some stuff I haven’t used in a while and make something useful. 


I have a lot of stud type earrings, not all of them match, but I still wear them anyway. So, I decided to upcycle an old cork board into an earring holder. These cork boards usually come in packs of 4. I have one already on my wall but I don’t know where the other two are and the one I have was not a square anymore because I cut it down to fit a corner when I had it up in my old place, since I wasn’t going to use it on it’s own I wanted to do something with it. That’s where I got the idea to make the earring holder.


Step One: Gather your materials


For mine I’m using an old picture frame (without the glass), a piece of cork board about ¼ inch thick and cut to fit the frame, acrylic paint and washi tape (painters tape is better but I don’t have any), a ruler, and foam brushes.

Because I’m using mine for my jewelry I’m putting it in this nice wooden frame that I got years ago at a thrift store, but it’s up to you if you want to frame it or not. I think the frame makes it look fancier. 


Step Two: Block off your design


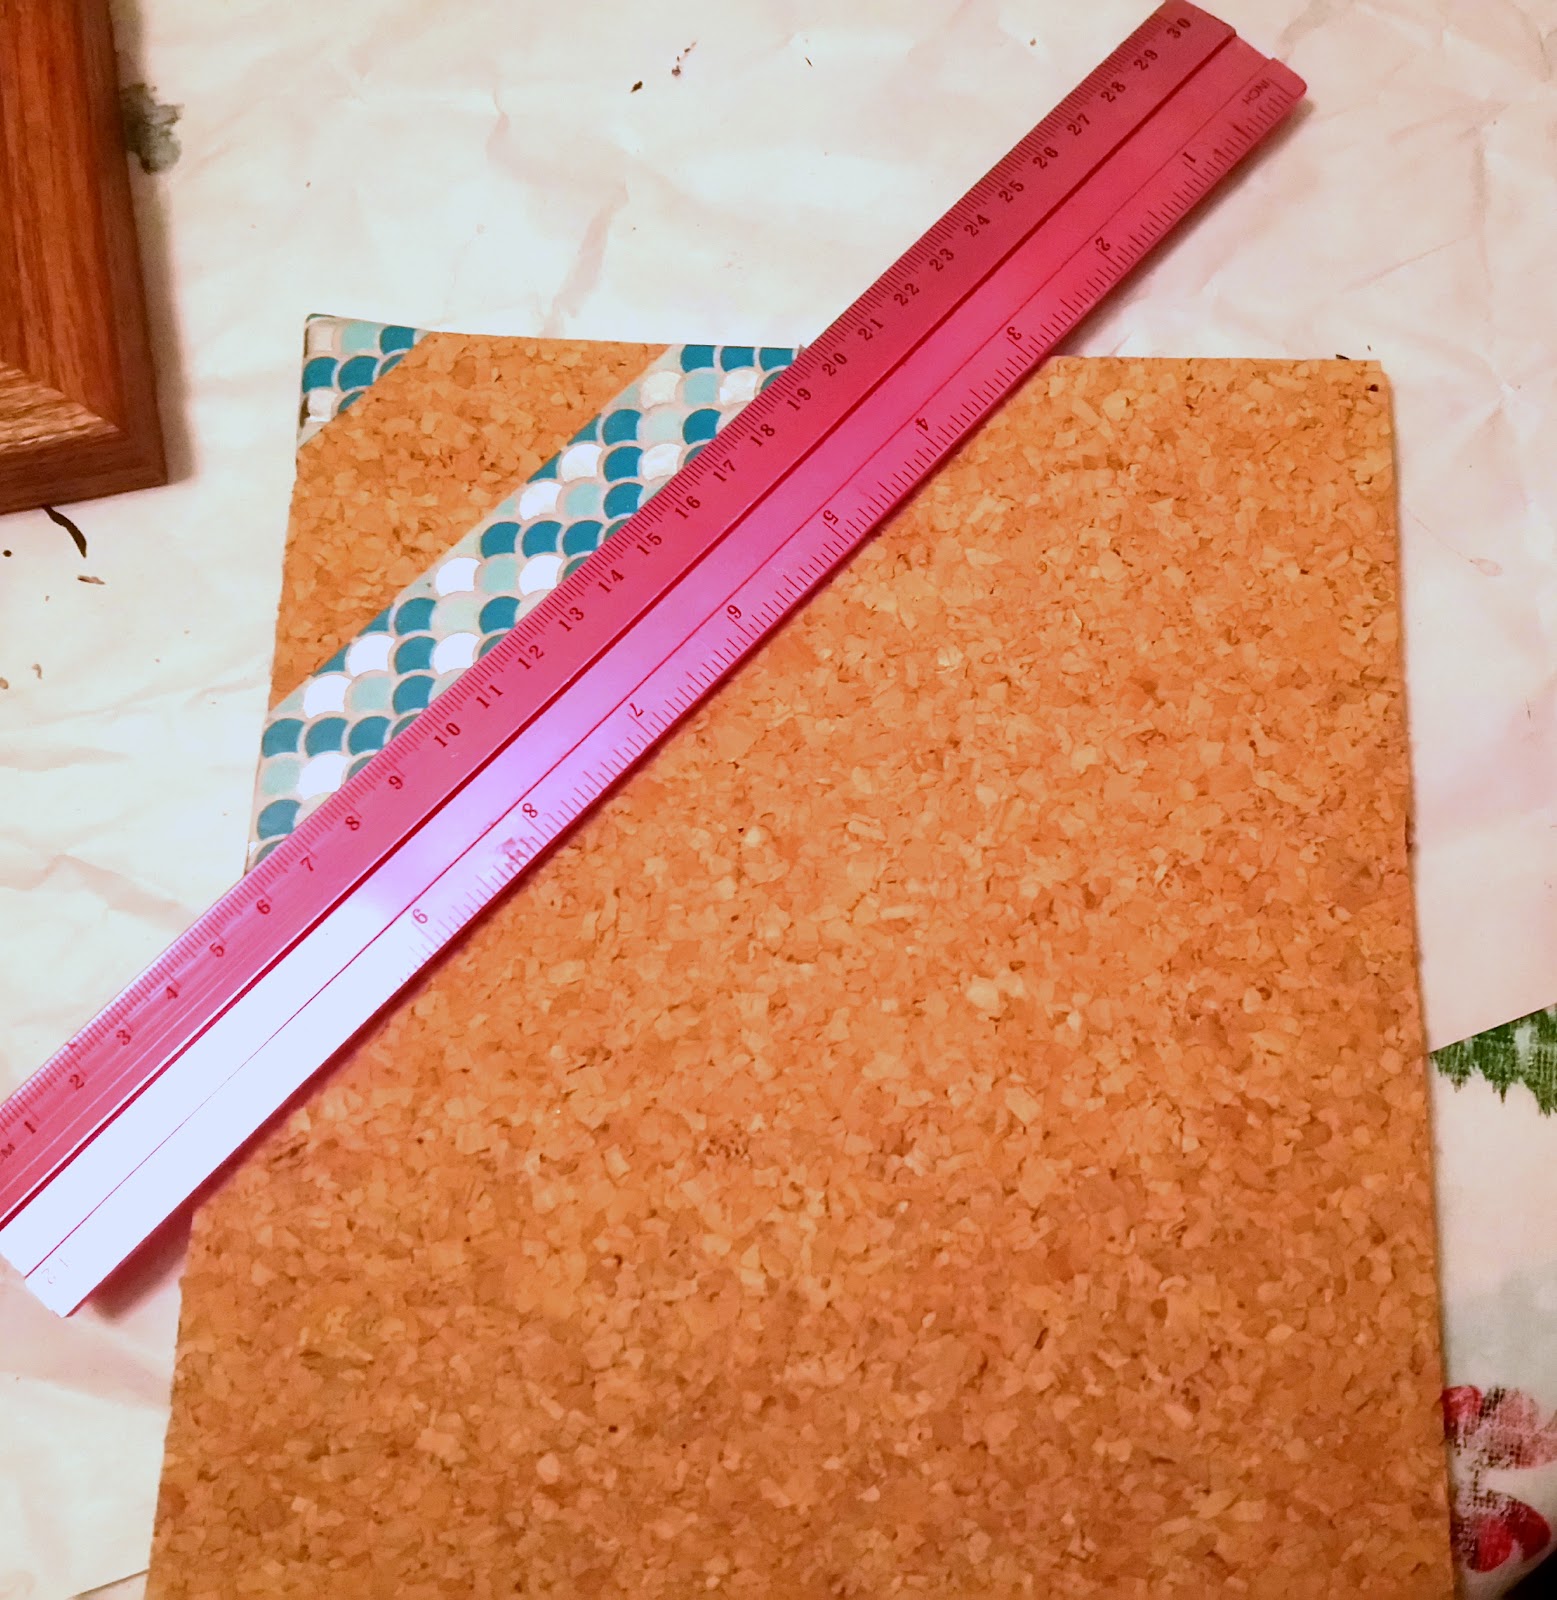
Use the washi or painter’s tape to mark the areas you will paint. Remember, wherever the tape sits is where you’ll see the cork color. I’m doing a simple diagonal line using my ruler to keep the lines evenly spaced. You can use a stencil or do random lines or whatever you want.


Step Three: Paint the board


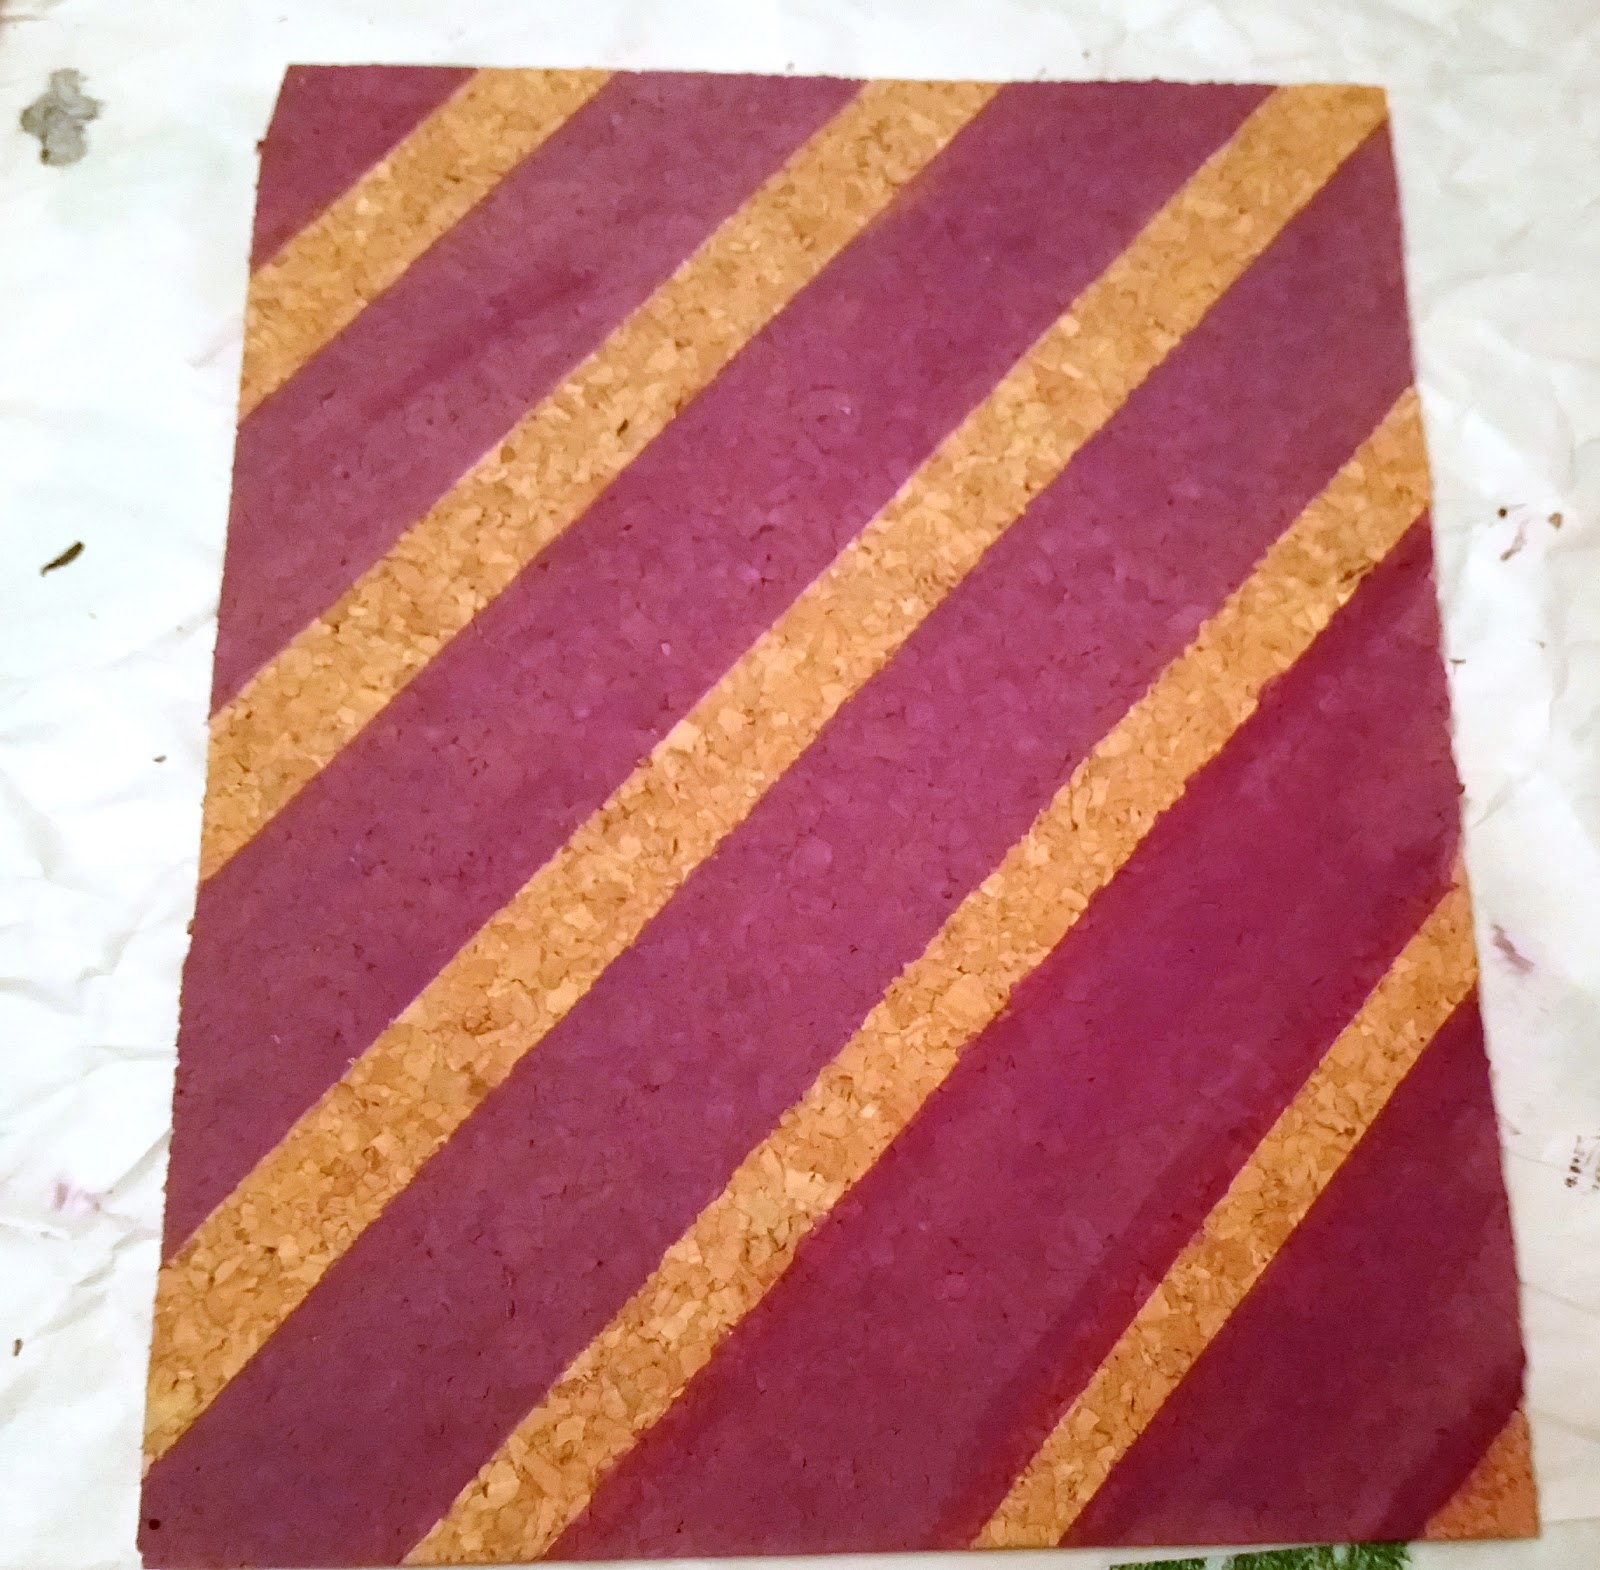
Next use your acrylic paint to paint the board. Again colors are totally up to you. I used the same purple but you could do a rainbow or alternate colors or any style you want. Then once the paint dries remove the tape and reveal your design. I had a few rough edges on some of the bottom lines so I placed the washi tape where the rough edges were and filled it in with more paint to smooth out the line, but I forgot to take a picture of that. 


Step Four: Fame it


This cork board was thin enough to easily fit inside the frame and I could replace the backing to hold it in place. However, if your cork is too thick for the backing you can hot glue it in the frame. I like having the backing hold it on there so I can change it out with a different design or go back to using it as a picture frame one day.


Step Five: Add your studs


Now I’ve added my earring and a few necklaces. Before these were in boxes and not on display so I kind of forgot about them and didn’t wear them. Now I see them all the time so I’m more likely to wear them. What I really like about this is that I don’t have to undo the backs of the earring like on my other earring holder (you can kind of see it on the left. I can just pop these (carefully) off and on. And, if you do this craft, then an upcycled Altoids tin would make a great place to keep the earring backs. 


What I like the most about this craft is that the frame around the cork board makes this look like a piece of art or an earring holder you bought from a store. I saw similar ones online for about $20 and this cost me nothing. If you don’t have cork you could do this with paperboard you would just have to punch holes in it.


I also like that this earring holder is pretty sturdy. I had an earring holder that was plastic but it broke during my last move, so I like that this cork is not likely to break and the frame is sturdy wood as well. I will say that since I didn’t glue the cork board in place it does move a little when I push the earrings in but I just have to hold it on the back or push gently and it’s not a problem, also putting the earrings in between the cracks in the cork makes it easier to push them in.


This is a pretty quick craft that you can do in maybe an hour depending on how long it takes for the paint to dry. You can also use this as a corkboard for notes and stuff instead of for earrings. Either way I think it would make a nice gift. 


Saturday, August 29, 2020

Fall Holiday Cards


It will soon be the kind of weather for Fall where we will have cool and crisp mornings for pumpkin-flavored coffee and tea as we get all cozy with our sweaters!  Now is a great time to get your holiday cards prepared.  I think Fall cards will brighten anyone’s day, so here’s a fun DIY Fall card craft to plan in the weeks ahead.  


I looked at a few ideas online before deciding on a square layered look.  I selected a scrapbook paper patterns that had the colors or fall which are usually shades of browns, reds, oranges, and yellows.  I did not end up using the light pink or black paints.  If you have great handwriting, you can write your own lettering on the card.  My handwriting is atrocious, so I already had letter stickers I use often.  You can also print lettering on paper.


Products Used:

2 sheets of 8.5”X11” white cardstock paper

2 sheets of 4”X6” cardstock paper

1 sheet of 6”X6” gold cardstock paper

2 sheets of 12”X12” scrapbook paper

Fall-themed colors of acrylic paints and small paintbrush

Sticker word book


Not Pictured:
Tape and scissors


First fold and cut the white 8.5”X11” cardstock which will be the blank white card.  I made two sizes of 6.5”X5” and a 7.5”X4.5” card.  Make sure you make card and envelope sizes that adhere to the USPS guidelines for letter stamps, found here: https://www.usps.com/business/prices.htm.


I then cut the smaller 4”X6” cardstock paper to fit the front of the card with a bit of white trim left exposed to achieve the layered look.  Then, I used the spare white cardstock along with the gold cardstock to cut layered squares, leaving some of the gold trim exposed.  These ended up being 4.5”X3.5” and 3.5”X3.5” sizes for the gold cardstock.


Now onto the envelopes!  (see above)  

Using the white card as a guide, place it in the center of the 12”X12” scrapbook paper and fold it up over the card leaving a little trim of the card exposed. Then take the card out of the pocket you just created and place it on top of the scrapbook paper lining the bottoms together and use scissors to cut off the corners in an angle. 


Open up the scrapbook paper, keeping the folds intact.  Keep the small portion where you had the card as a guide closest to you.  The picture displayed is upside down so don't get confused!  Then, slip the card back inside the pocket you created and fold the angles around the card to secure the pocket. It's a bit hard to explain, but once you're actually working with the paper you will be able to understand these movements. 


Fold the side corners over the card and then cut the top to fit however long you’d like the fold to go down covering the card.  About a 2.5” trim is what I used. 


Fold the top down and voila!  Beautiful envelopes done!


Now time to paint!  Again I only used three colors that were more Fall themed.  The key is to have a very watered-down brush when you paint because you may be using such dark colors like I did.  A wet brush is how you can create lighter-colored brush strokes across the small white squares. 


For the cut-outs of the foliage and leaves, I would recommend printing out a clip-art from online and then tracing it over the gold cardstock.  I opted for the free-hand drawing.


As you can see below, I also painted lines in the leaves using orange paint to add some depth.  When everything dries, assemble the cards in a layered fashion using tape for each layer.  For the gold foliage cut-outs, I used tape on the back rather than the front because I wanted to keep the shine of the gold.  


Add the word stickers, or handwrite ‘thankful’ with a black marker perhaps. When you are done, keep the cards in-between a heavy stack of books to force it into a flat shape because using watered-down paint made the white cardstock curl up a bit. 


Send it to a friend or family member to drop a lovely and personal note of ‘HELLO’ to kick off a great Fall season and start to say your ‘goodbyes’ to 2020! 


Friday, August 7, 2020

Upcycled Wine Bottles

I recently wrote a blog (click HERE if you want to read it) about how I’m going to try to reduce the glass I purchase because Hillsborough County and other counties in Florida are no longer recycling glass, which is outrageous and horrendous for the environment. So, until we can change things I’m trying not to buy glass. Which means I have to find some ways to reuse the wine bottles I already had before this new policy. I looked online for ideas and there were lots of people making wine bottles into decor. There are lots that are way better than mine, but the idea is to try something new and have some fun while staying home, so in that sense Mission Accomplished! I also tried to use only things I had on hand at home. The only thing I bought was Chalkboard Paint, which I got at Target for $6.99.


I decided on two styles for this blog using one clear bottle and one green bottle. For the clear one, I decided on a beach theme like with my Altoids tin, and for the green bottle I used the Chalkboard Paint. I’ve seen the best results for these projects when done with spray paint but since I live in an apartment I didn’t want to try to spray paint on my balcony in case someone complained about it. So, I used fluid Chalkboard Paint and the acrylic paint I already had but a spray paint would probably work better. You’ll see what I mean later.


Step 1: Wash the bottles and remove the labels


I used a box cutter to remove the label from the neck of the bottle. 


Online I saw many different ways to remove the labels from the front and back but I wanted something simple. I soaked these in hot soapy water. I found some of the labels came free right away but others, like the one on the clear bottle, took longer and a little work. For the stubborn labels I just used a spoon to scrape the label off. I opted for a spoon because it’s safer than using a knife and worked pretty well.


Step 2: Gather Your Materials


I washed a few different bottles so you can see not all wine bottles are exactly the same shape and color so if you’re making matching bottles for a centerpiece or a mantle you want to make sure your bottles are the same.


Now that I have my bottles, I gathered my other materials. You will need rubbing alcohol, paint or spray paint, Chalkboard Paint, paint brushes (I used foam brushes), chalk or pastels, Mod Podge, painter’s tape, hot glue, washi tape, and any other decorations you want like letters, stencils, stickers, beads, glitter, etc. I have sand, shells, paper, and some leather cord for my beach themed bottle, and yarn for the Chalkboard bottle.


Step 3: Marking where you want to paint, cleaning, and painting


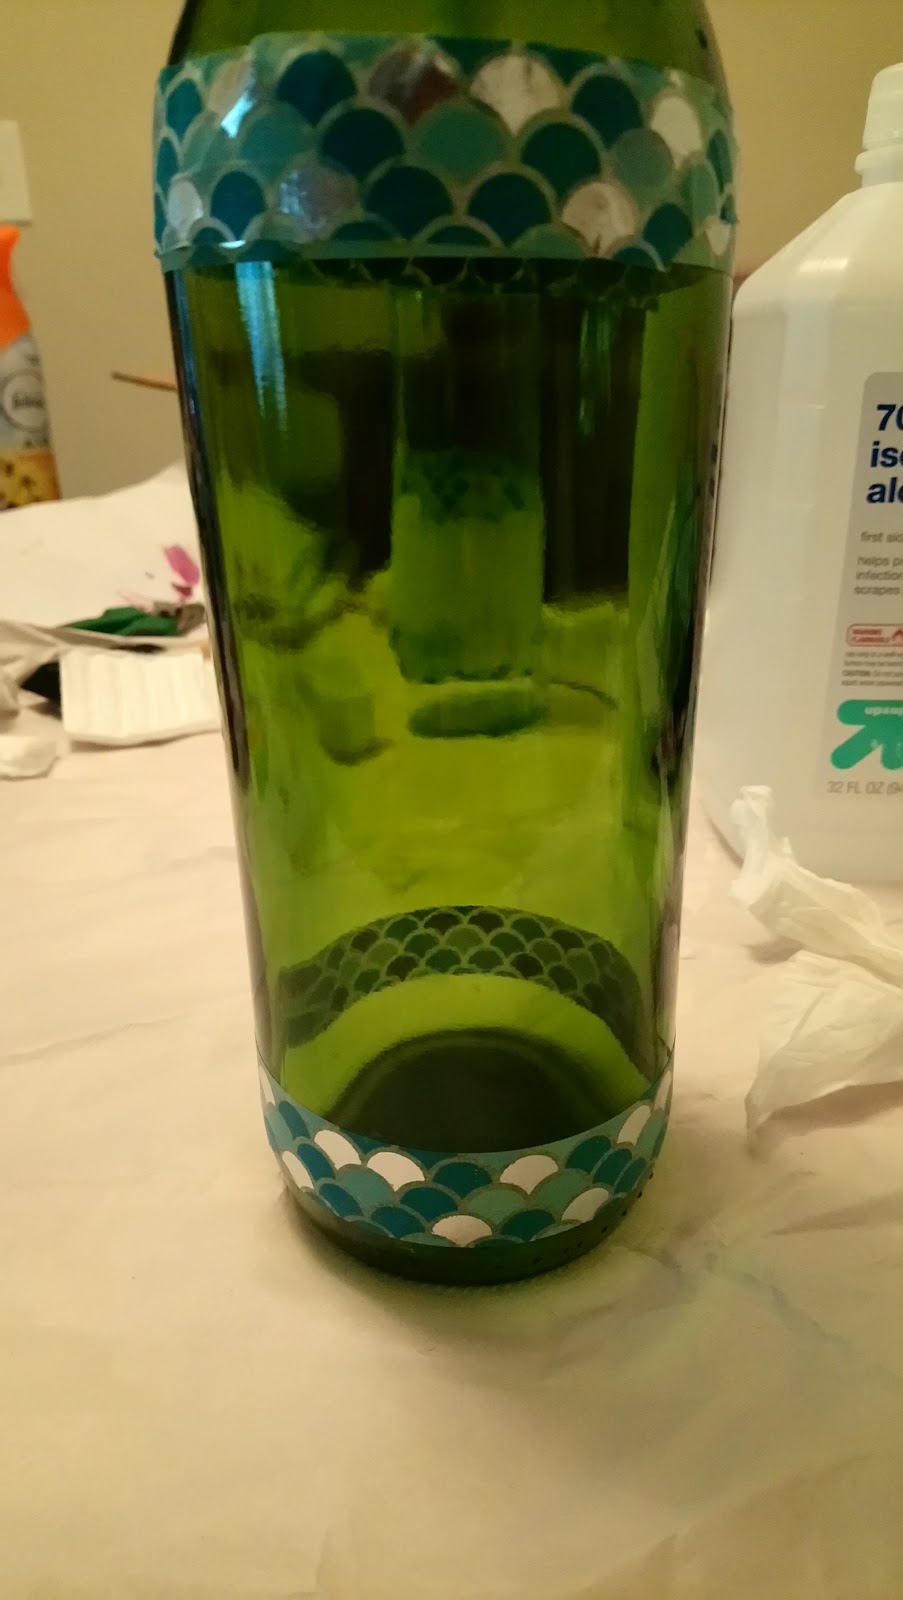
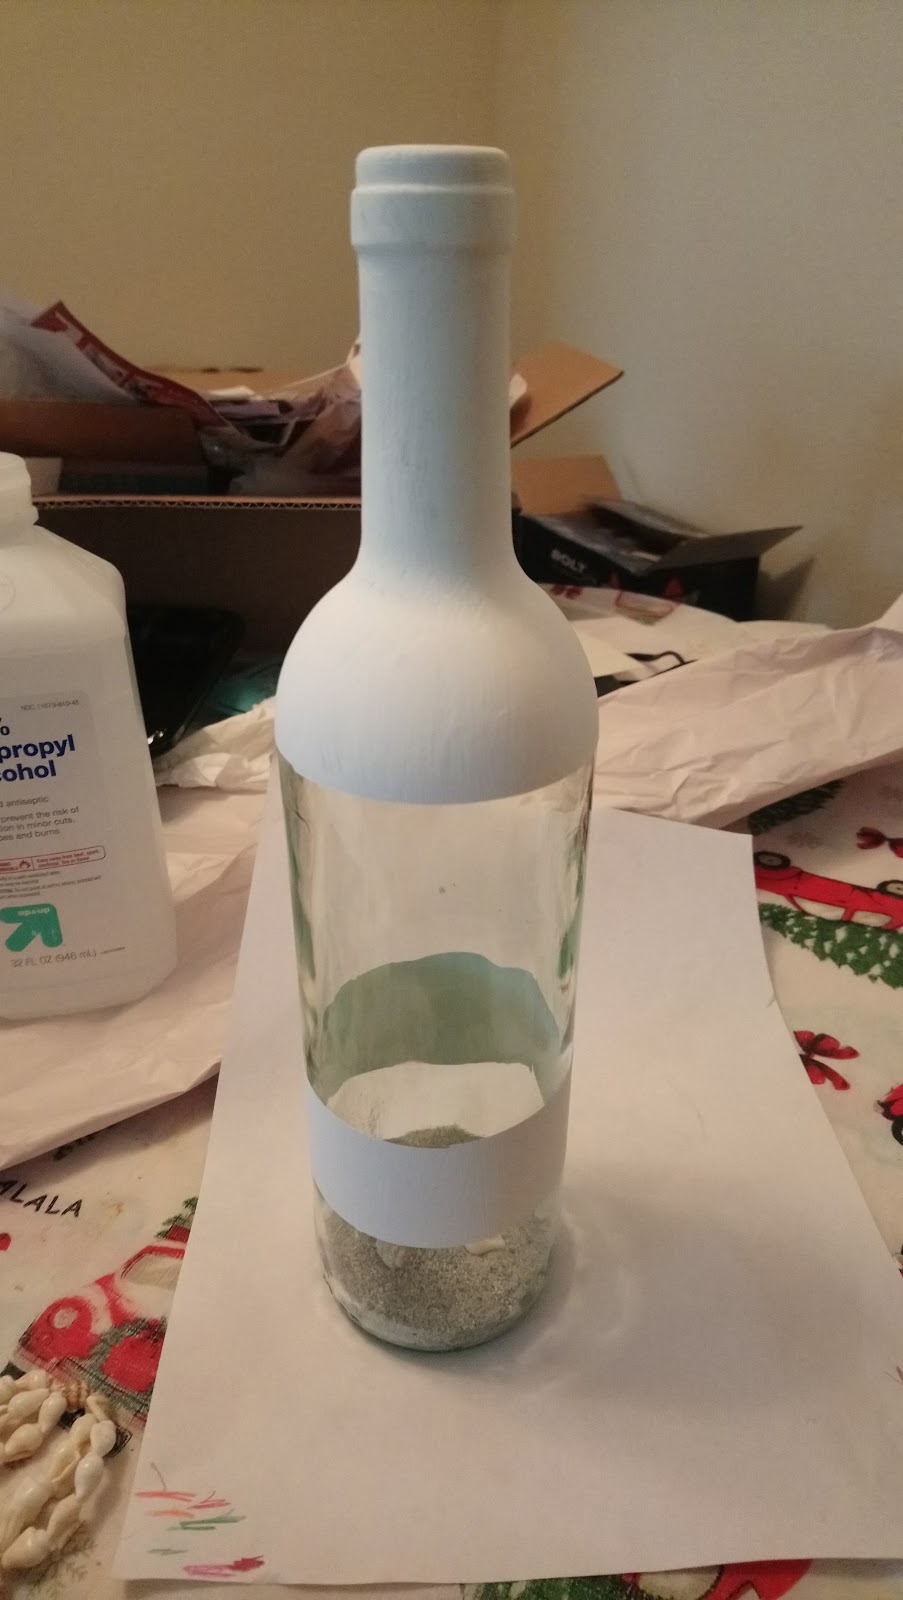
I forgot to get painters tape so I’m using washi tape instead. Put the tape where you are going to paint and clean the areas you will paint with rubbing alcohol. The was noted specifically for the Chalkboard Paint but I think it’s a good idea for acrylic paint too.


I applied the paint in thin even coats, letting it dry for at least an hour between coats. I thought using foam brushes would prevent streaks but I still got some streaking, so I think the best way to prevent that is by using spray paint. Honestly I don’t mind the streaks; it makes it seem more rustic and homemade. 


Step 4: Decorate!


Bottle 1: Beach Theme


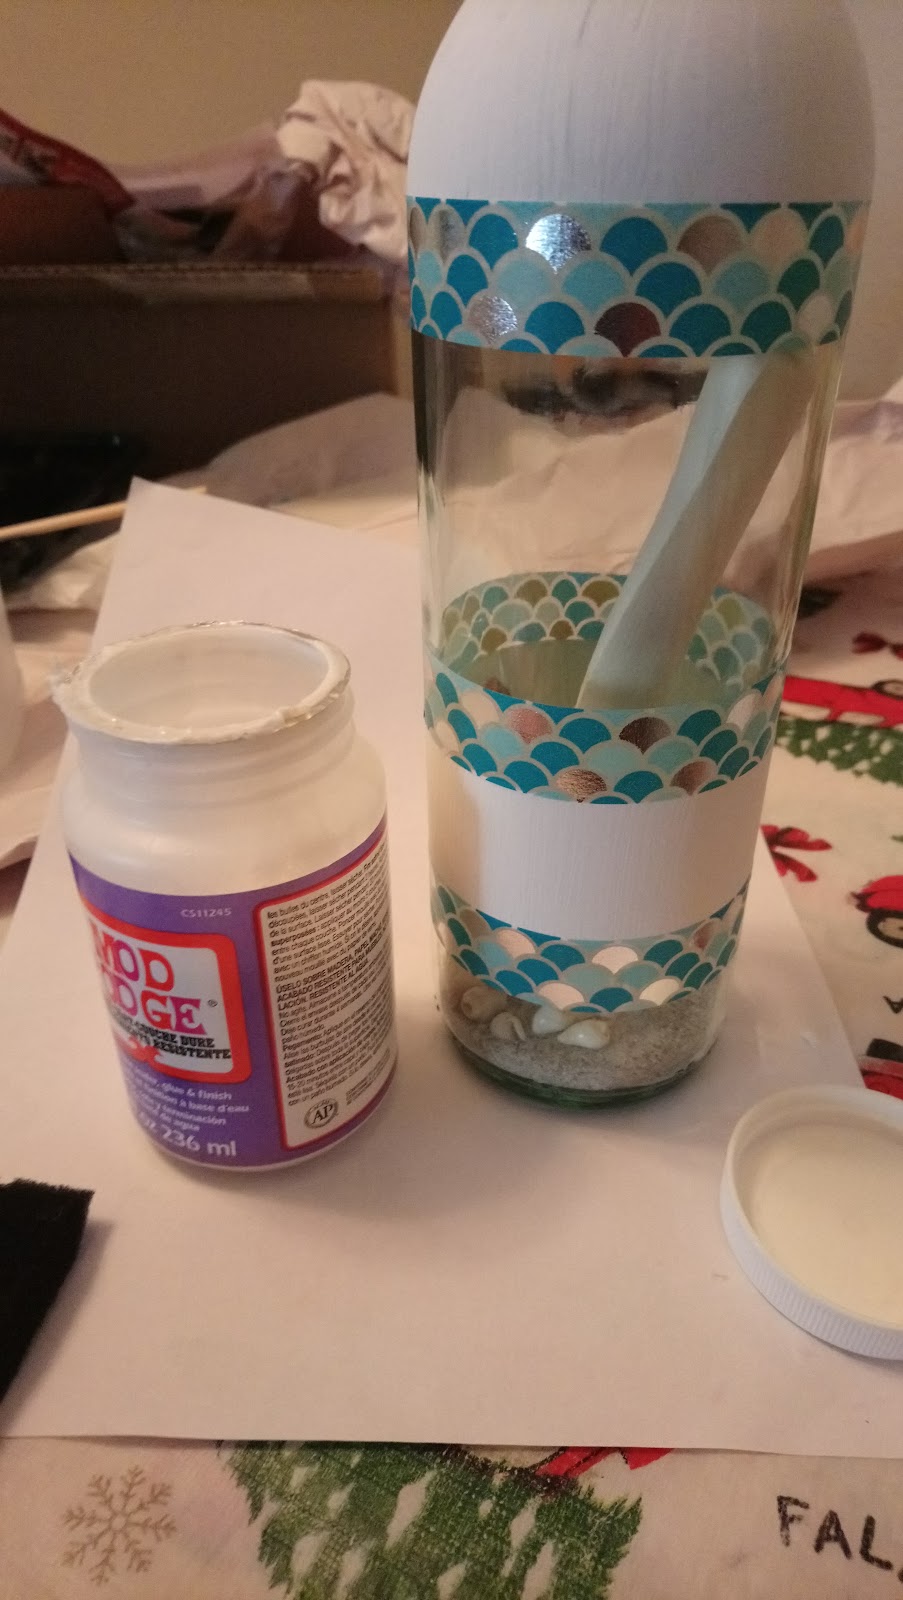
The first thing I did was remove the washi tape I was using as painter’s tape to block off the sections I painted. I recommend doing this over some newspaper or something similar because the dried paint makes a mess, at least mine did, little splinters of paint went everywhere. Then I used washi tape to decorate the bottle and sealed the paint and the washi tape with Mod Podge. I also added some sand and tiny sea shells and a rolled up piece of paper for my “message in a bottle” look. If I did this again I would probably wait to add stuff to the inside until after I finished the outside. 


The sand I had from one of the times I went to the beach years ago (note: do not remove sand from the beach! You can buy sand in stores, also never remove sand from beaches in Hawaii or you’ll be cursed). The tiny shells are the same ones from the Altoids tin craft.


Finally I used some blue leather cord to tie a few larger shells to the outside. I’m really happy with how this turned out. I’ve seen some where crafters use twine to make fishnet style decorations to go over the bottle. It looks very coastal chic but I didn’t even know how to start something like that and I didn’t have any twine. I did add a cork to the bottle at the very end to keep the sand and other items from falling out.


Bottle 2: Chalkboard Chic


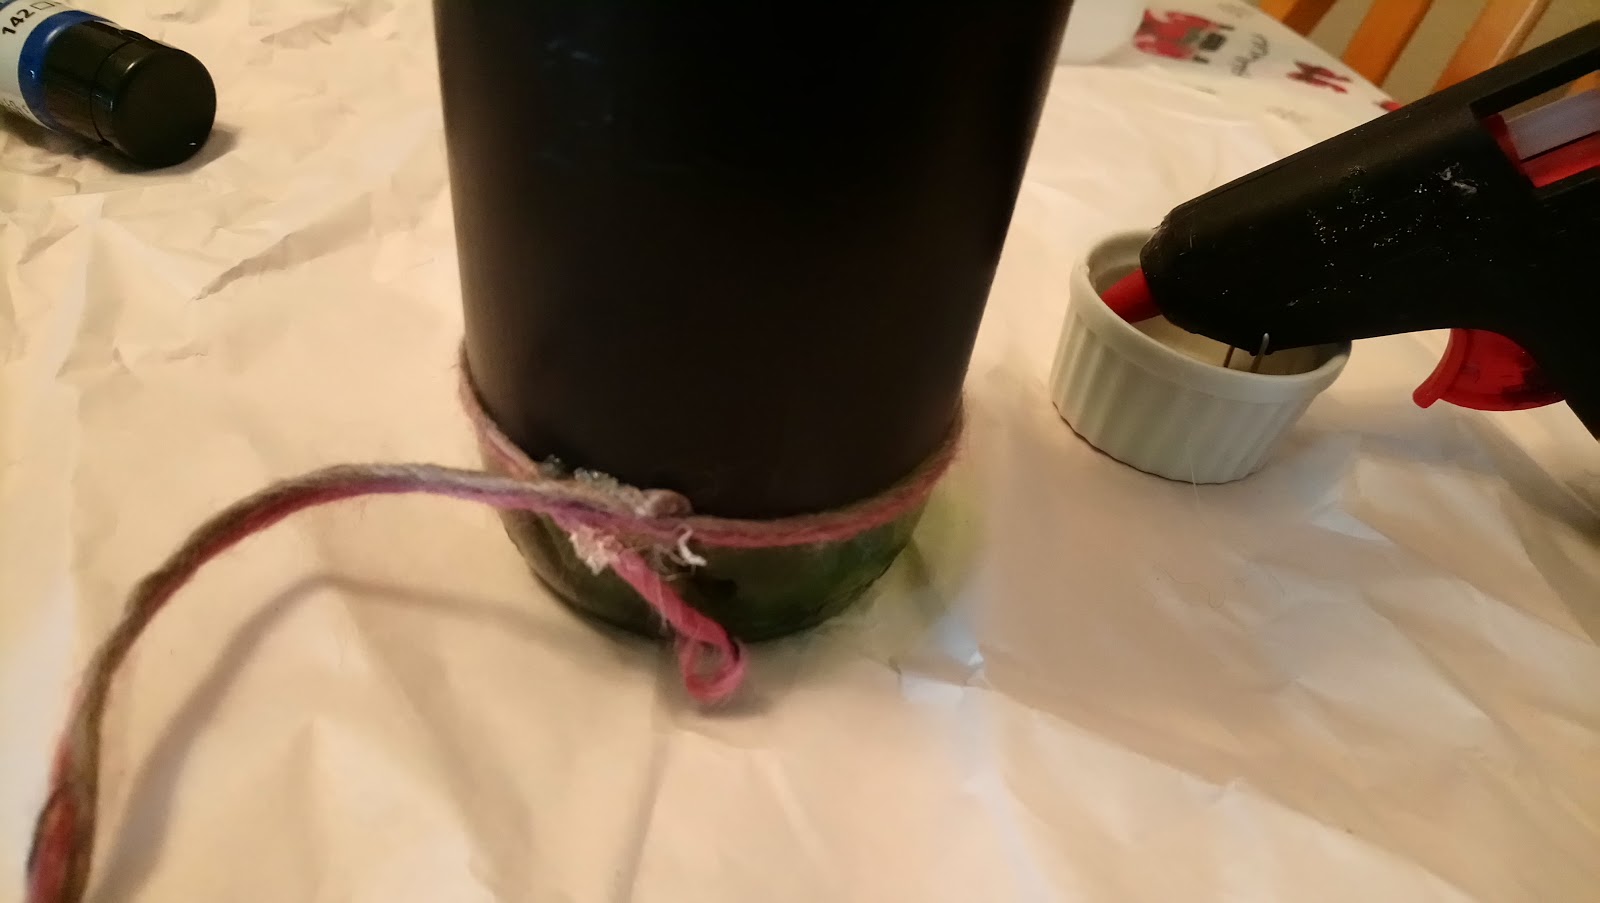
After I removed the painter’s tape (aka washi tape) I started hot gluing some pink and green yarn to the parts of the bottle that weren’t painted. You can do this with twine which makes a nice neutral look but I had this yarn leftover from another project and it wasn’t enough to make anything so that’s why I chose it for this.


You can see the streaks here from painting on the Chalkboard paint. I think spray paint would give you a smooth finish, but again I kinda like that handmade brush look. I did a thick layer of the yarn overlapping it in spots where the hot glue was visible so it looked nice and clean when I finished and no hot glue was showing. It was tricky doing this with hot glue because it wanted to stick to the yarn and the yarn is fuzzy so it wanted to stick to everything but I got through it. I suggest taking your time  and apply the glue as thinly as possible. You have to be quick so the glue doesn’t dry but try doing just little sections at a time.


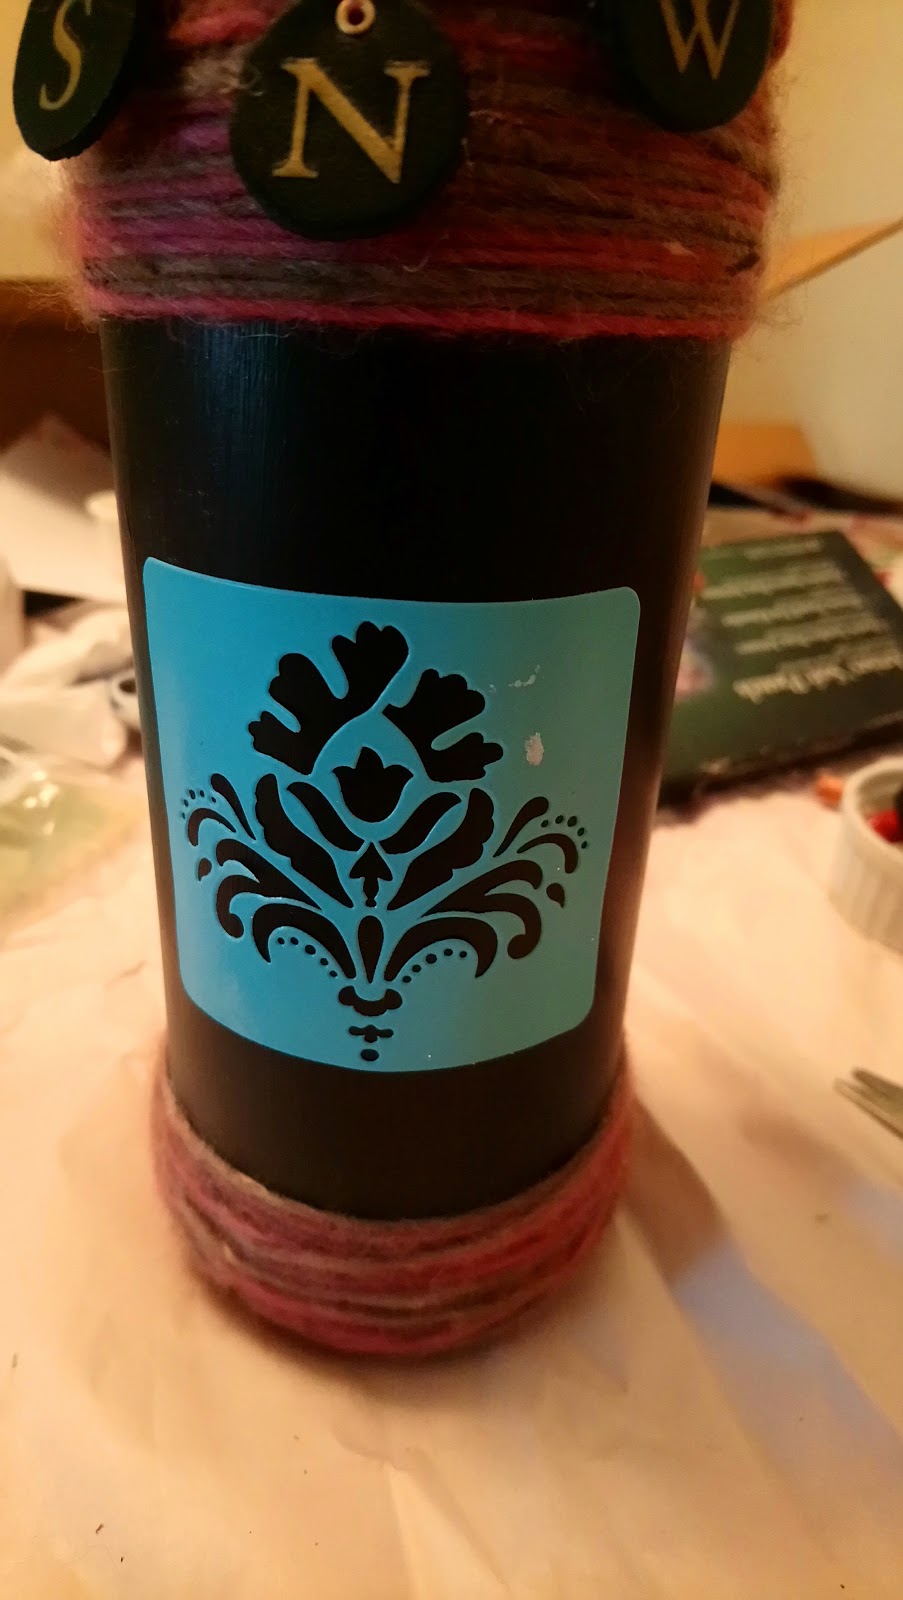
I did the same for the yarn on the top of the bottle. Then I used these letter stickers to put my initials on the bottle. Since these letters are stick on and have little holes I used a bit of thread to tie them on because I don’t think a sticker would last on yarn for very long, this way they are secure.


You could also do multiple bottles like this and write your initials or a message with the chalk instead of stickers. I decided to do a stencil image instead of writing a message because my handwriting is terrible and writing on a bottle just didn’t work for me.


When the Chalkboard Paint is completely dry you’re ready to write with chalk or pastels on your bottle. I heard/read somewhere that you need to prime the surface. I’m not sure if that’s true but I did it anyway. To do this I just rubbed a little white chalk over the surface then wiped it off with a tissue. Then I applied this stencil and went over it with a red pastel.


Here’s the finished bottle! I love the Chalkboard because I can change this image or write a message or maybe make a list of my top wines. You can do anything you want and change it up. I’m just using this as an art piece but you can use them as vases too.