I recently wrote a blog (click HERE if you want to read it) about how I’m going to try to reduce the glass I purchase because Hillsborough County and other counties in Florida are no longer recycling glass, which is outrageous and horrendous for the environment. So, until we can change things I’m trying not to buy glass. Which means I have to find some ways to reuse the wine bottles I already had before this new policy. I looked online for ideas and there were lots of people making wine bottles into decor. There are lots that are way better than mine, but the idea is to try something new and have some fun while staying home, so in that sense Mission Accomplished! I also tried to use only things I had on hand at home. The only thing I bought was Chalkboard Paint, which I got at Target for $6.99.

I decided on two styles for this blog using one clear bottle and one green bottle. For the clear one, I decided on a beach theme like with my Altoids tin, and for the green bottle I used the Chalkboard Paint. I’ve seen the best results for these projects when done with spray paint but since I live in an apartment I didn’t want to try to spray paint on my balcony in case someone complained about it. So, I used fluid Chalkboard Paint and the acrylic paint I already had but a spray paint would probably work better. You’ll see what I mean later.
Step 1: Wash the bottles and remove the labels

I used a box cutter to remove the label from the neck of the bottle.

Online I saw many different ways to remove the labels from the front and back but I wanted something simple. I soaked these in hot soapy water. I found some of the labels came free right away but others, like the one on the clear bottle, took longer and a little work. For the stubborn labels I just used a spoon to scrape the label off. I opted for a spoon because it’s safer than using a knife and worked pretty well.

Step 2: Gather Your Materials

I washed a few different bottles so you can see not all wine bottles are exactly the same shape and color so if you’re making matching bottles for a centerpiece or a mantle you want to make sure your bottles are the same.

Now that I have my bottles, I gathered my other materials. You will need rubbing alcohol, paint or spray paint, Chalkboard Paint, paint brushes (I used foam brushes), chalk or pastels, Mod Podge, painter’s tape, hot glue, washi tape, and any other decorations you want like letters, stencils, stickers, beads, glitter, etc. I have sand, shells, paper, and some leather cord for my beach themed bottle, and yarn for the Chalkboard bottle.
Step 3: Marking where you want to paint, cleaning, and painting

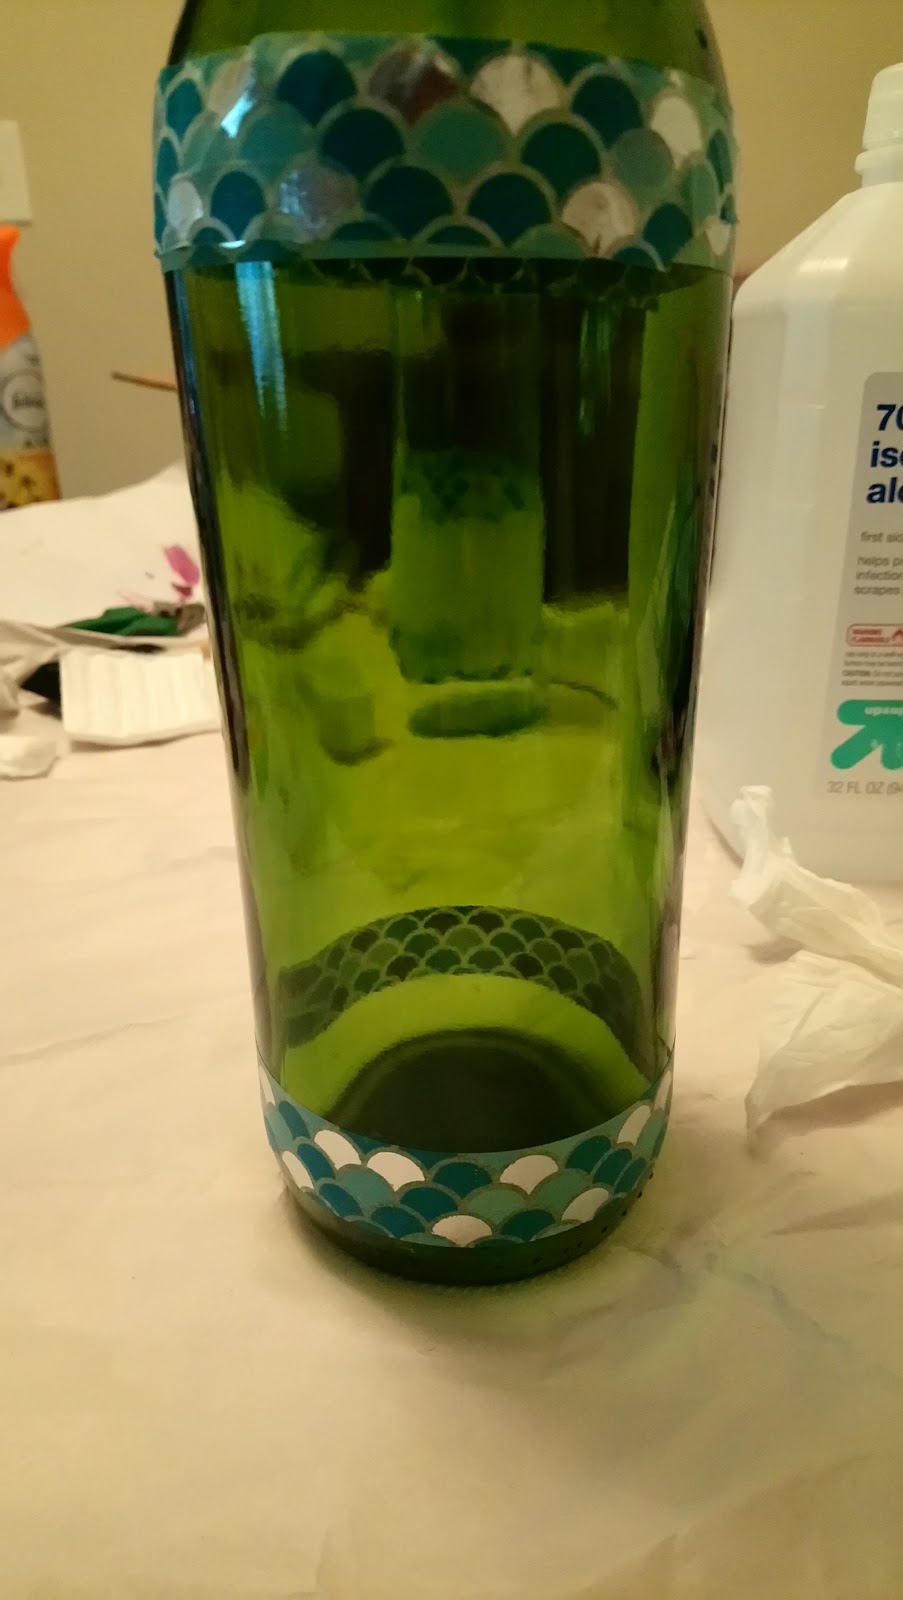
I forgot to get painters tape so I’m using washi tape instead. Put the tape where you are going to paint and clean the areas you will paint with rubbing alcohol. The was noted specifically for the Chalkboard Paint but I think it’s a good idea for acrylic paint too.
I applied the paint in thin even coats, letting it dry for at least an hour between coats. I thought using foam brushes would prevent streaks but I still got some streaking, so I think the best way to prevent that is by using spray paint. Honestly I don’t mind the streaks; it makes it seem more rustic and homemade.
Step 4: Decorate!
Bottle 1: Beach Theme
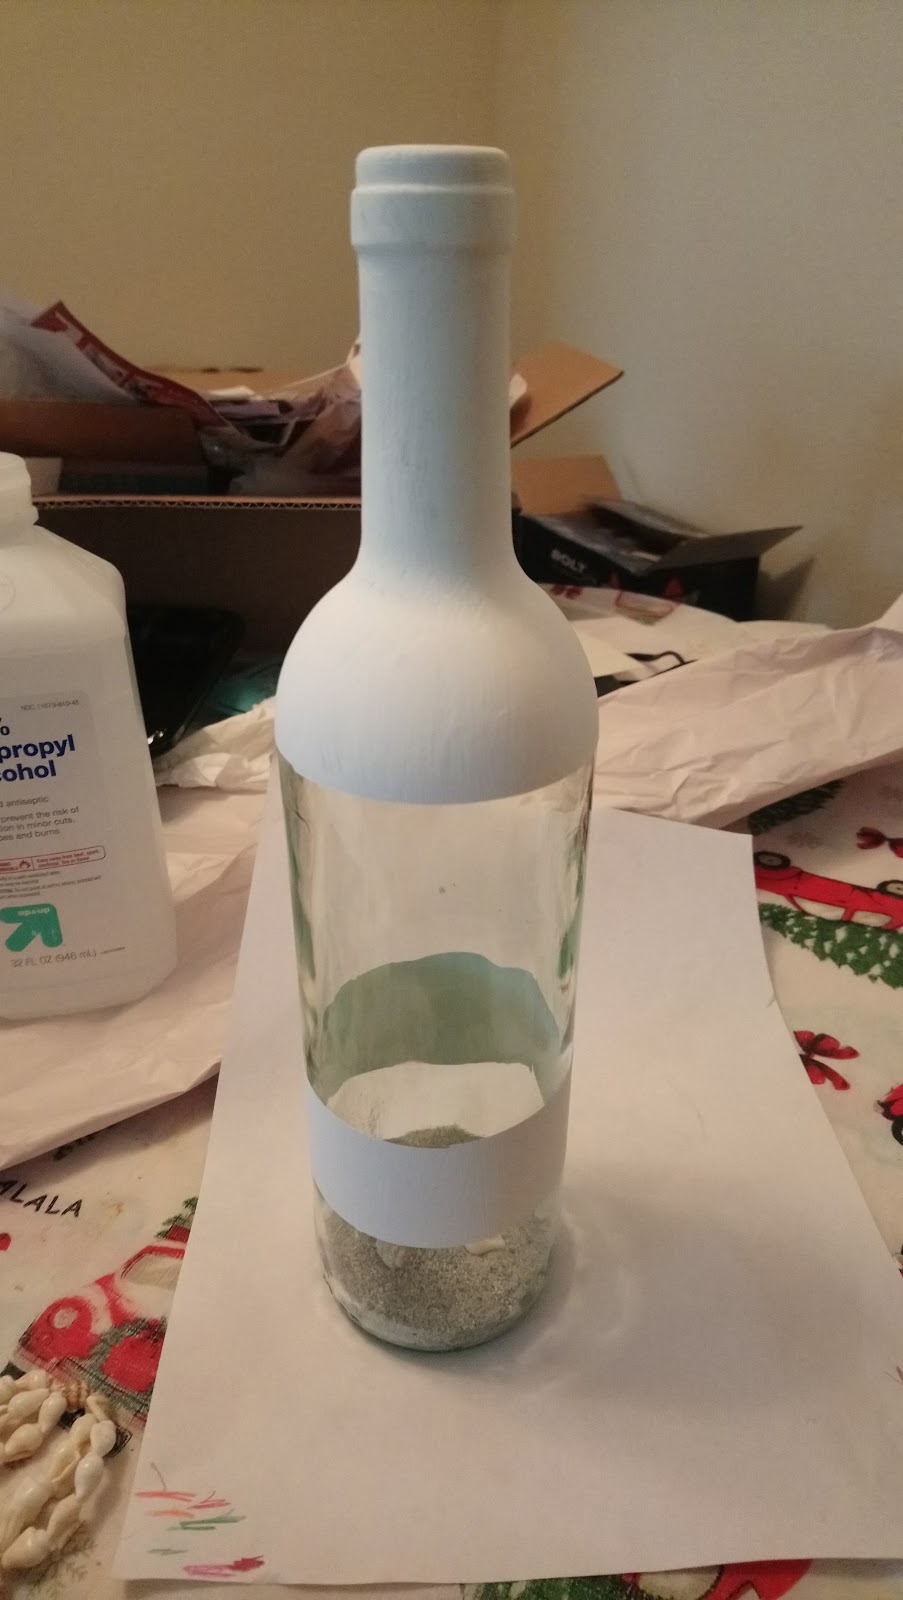
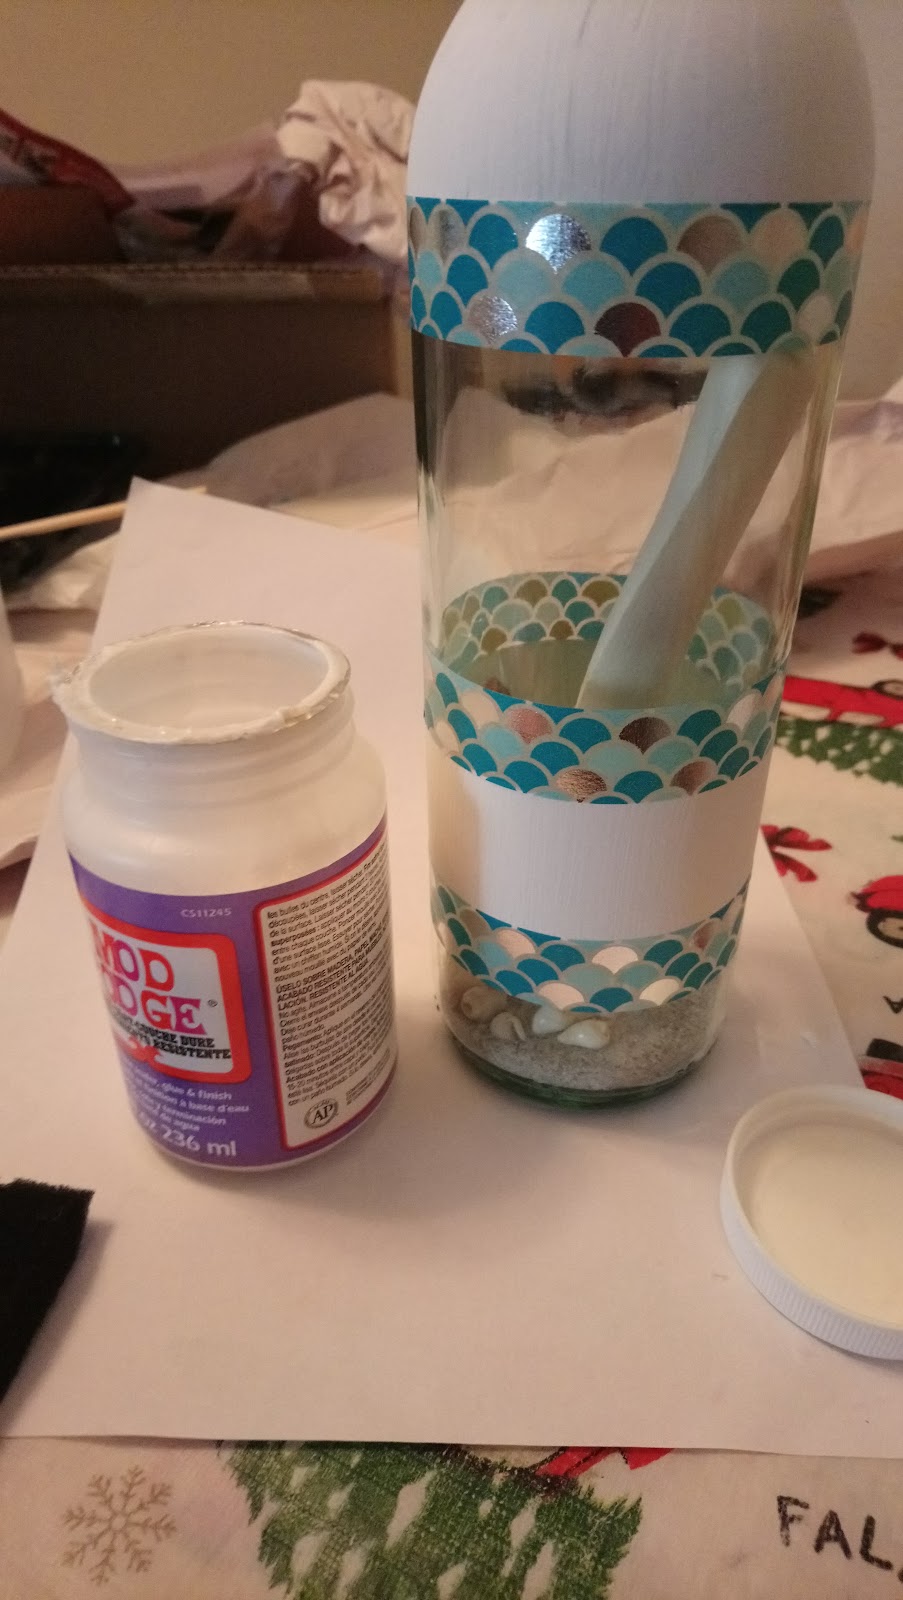
The first thing I did was remove the washi tape I was using as painter’s tape to block off the sections I painted. I recommend doing this over some newspaper or something similar because the dried paint makes a mess, at least mine did, little splinters of paint went everywhere. Then I used washi tape to decorate the bottle and sealed the paint and the washi tape with Mod Podge. I also added some sand and tiny sea shells and a rolled up piece of paper for my “message in a bottle” look. If I did this again I would probably wait to add stuff to the inside until after I finished the outside.


Finally I used some blue leather cord to tie a few larger shells to the outside. I’m really happy with how this turned out. I’ve seen some where crafters use twine to make fishnet style decorations to go over the bottle. It looks very coastal chic but I didn’t even know how to start something like that and I didn’t have any twine. I did add a cork to the bottle at the very end to keep the sand and other items from falling out.
Bottle 2: Chalkboard Chic
After I removed the painter’s tape (aka washi tape) I started hot gluing some pink and green yarn to the parts of the bottle that weren’t painted. You can do this with twine which makes a nice neutral look but I had this yarn leftover from another project and it wasn’t enough to make anything so that’s why I chose it for this.
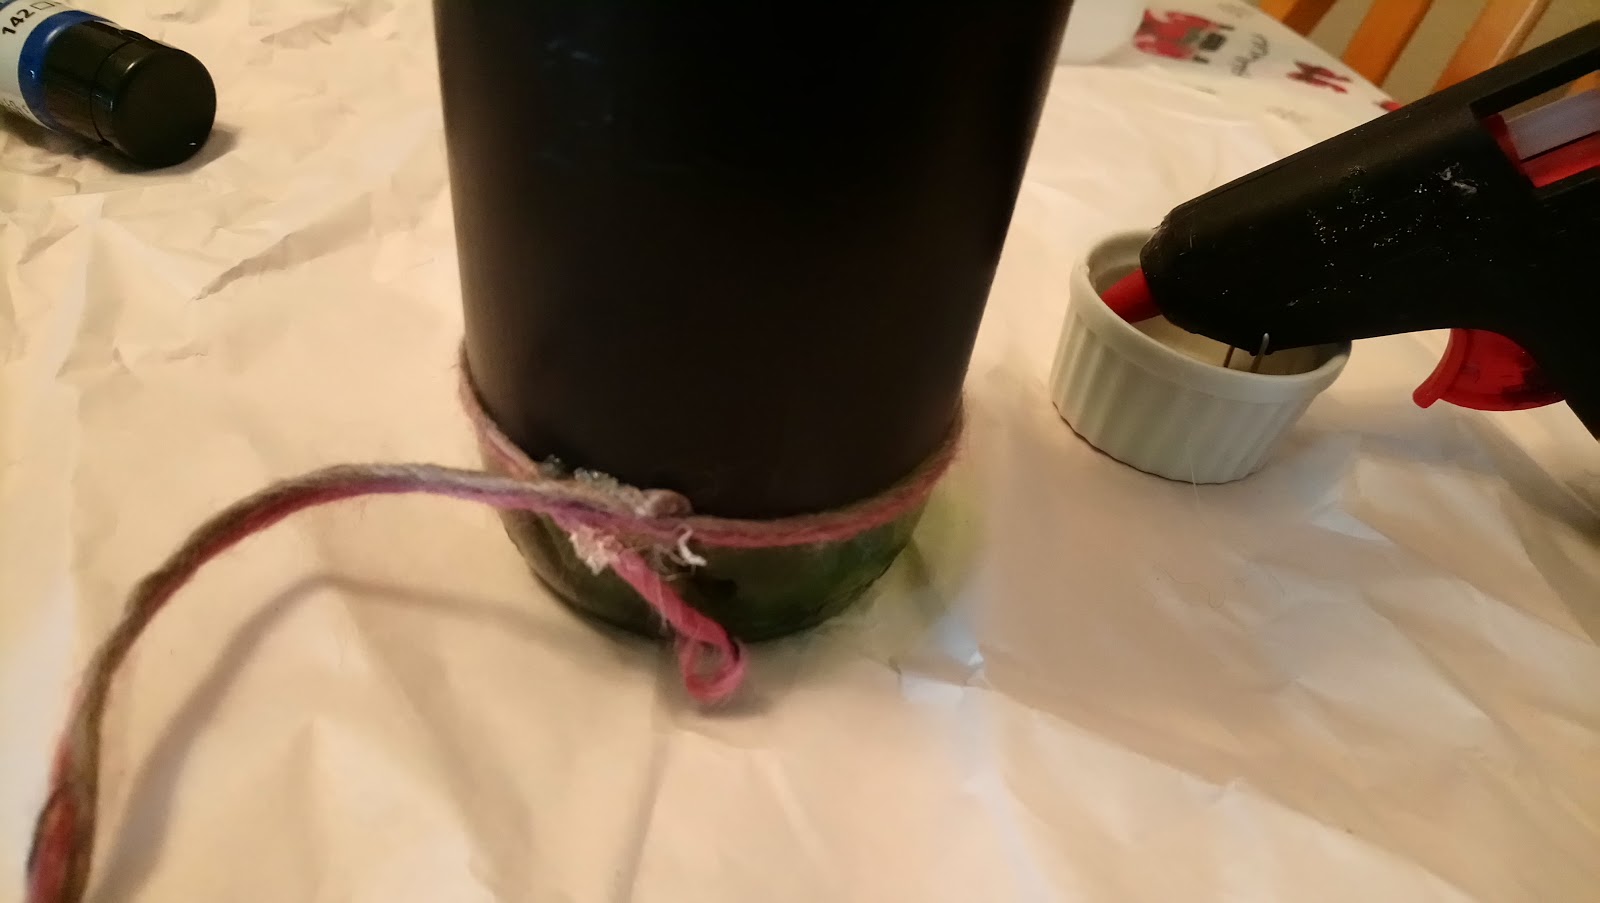

You can see the streaks here from painting on the Chalkboard paint. I think spray paint would give you a smooth finish, but again I kinda like that handmade brush look. I did a thick layer of the yarn overlapping it in spots where the hot glue was visible so it looked nice and clean when I finished and no hot glue was showing. It was tricky doing this with hot glue because it wanted to stick to the yarn and the yarn is fuzzy so it wanted to stick to everything but I got through it. I suggest taking your time and apply the glue as thinly as possible. You have to be quick so the glue doesn’t dry but try doing just little sections at a time.
I did the same for the yarn on the top of the bottle. Then I used these letter stickers to put my initials on the bottle. Since these letters are stick on and have little holes I used a bit of thread to tie them on because I don’t think a sticker would last on yarn for very long, this way they are secure.

You could also do multiple bottles like this and write your initials or a message with the chalk instead of stickers. I decided to do a stencil image instead of writing a message because my handwriting is terrible and writing on a bottle just didn’t work for me.

When the Chalkboard Paint is completely dry you’re ready to write with chalk or pastels on your bottle. I heard/read somewhere that you need to prime the surface. I’m not sure if that’s true but I did it anyway. To do this I just rubbed a little white chalk over the surface then wiped it off with a tissue. Then I applied this stencil and went over it with a red pastel.

Here’s the finished bottle! I love the Chalkboard because I can change this image or write a message or maybe make a list of my top wines. You can do anything you want and change it up. I’m just using this as an art piece but you can use them as vases too.
No comments:
Post a Comment