Wood Journal
I saw some really great book binding DIY crafts so I wanted to try it! You can consider expanding this to a kid-friendly activity by making the pages have coloring pages or fun games that are available as printables on many websites. Additionally, you can consider leveling this up a notch for adults with mandala coloring pages, motivational quote pages, or even calendar printables.
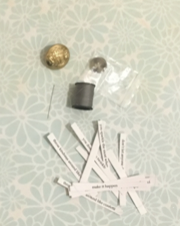
Products Used:
Button
Needle & Thread
Sticker cut-outs
Ruler
16 pages of printer paper
Something to poke a small hole (Cricut tool)
Wood felt 12”x12” square
Not pictured: Rubber band, scissors, pen

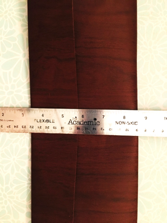
First, fold the wood felt so there’s a little lip for the book cover and cut in half. This will give you two journal covers to make instead of one. For this project I only worked on the first one and the approximate time it took was about an hour and a half.
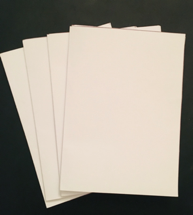
After you have the two journal covers, we’ll begin working on the inserts. First, fold the paper longways and then measure how big you want to pages to be and make two marks with the pen on where your binding holes will be.

Then, use the single folded page as an example. I started with 4 pages at a time to fold and cut, which cut (J) the time in half, but doesn’t give you a super straight line so I would recommend bringing it down to 3 pages at a time to fold and cut accordingly.
Then, line up where you anticipate will be your middle inserts and then make a mark with the pen on the inside of the fold on the wood felt.

You will now be able to make your four binding marks on the inside top and bottom.

Use a tool to poke the holes in the felt. I used a Cricut tool which allowed for a small hole, this will be very important for you to consider. If you have a sewing machine, the size of the needle on the machine will be ideal.
Then, you’ll want to push the needle and thread through the cut holes and secure them very tightly using a knot-tie.


Secure the button using the same needle and thread, and then match up where you will have to poke a hole where the rubber band will go through. Make sure you
make a knot on the inside of the cover as well as the front to give it a nice look.

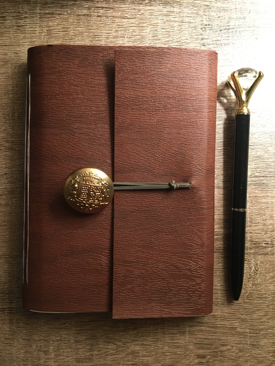
Add any embellishments, such as stickers to friends or printables for the kids or other ideas.
And presto, here is the final product!!!