I did a Fall themed craft where I upcycled an old broken picture frame into a decorated chalkboard. But, I didn’t like how it turned out. It didn’t really say “Fall” to me so I’m going to think of a good fall craft to do for the next blog. But for now I decided to take some stuff I haven’t used in a while and make something useful.
I have a lot of stud type earrings, not all of them match, but I still wear them anyway. So, I decided to upcycle an old cork board into an earring holder. These cork boards usually come in packs of 4. I have one already on my wall but I don’t know where the other two are and the one I have was not a square anymore because I cut it down to fit a corner when I had it up in my old place, since I wasn’t going to use it on it’s own I wanted to do something with it. That’s where I got the idea to make the earring holder.
Step One: Gather your materials

For mine I’m using an old picture frame (without the glass), a piece of cork board about ¼ inch thick and cut to fit the frame, acrylic paint and washi tape (painters tape is better but I don’t have any), a ruler, and foam brushes.
Because I’m using mine for my jewelry I’m putting it in this nice wooden frame that I got years ago at a thrift store, but it’s up to you if you want to frame it or not. I think the frame makes it look fancier.
Step Two: Block off your design

Use the washi or painter’s tape to mark the areas you will paint. Remember, wherever the tape sits is where you’ll see the cork color. I’m doing a simple diagonal line using my ruler to keep the lines evenly spaced. You can use a stencil or do random lines or whatever you want.
Step Three: Paint the board
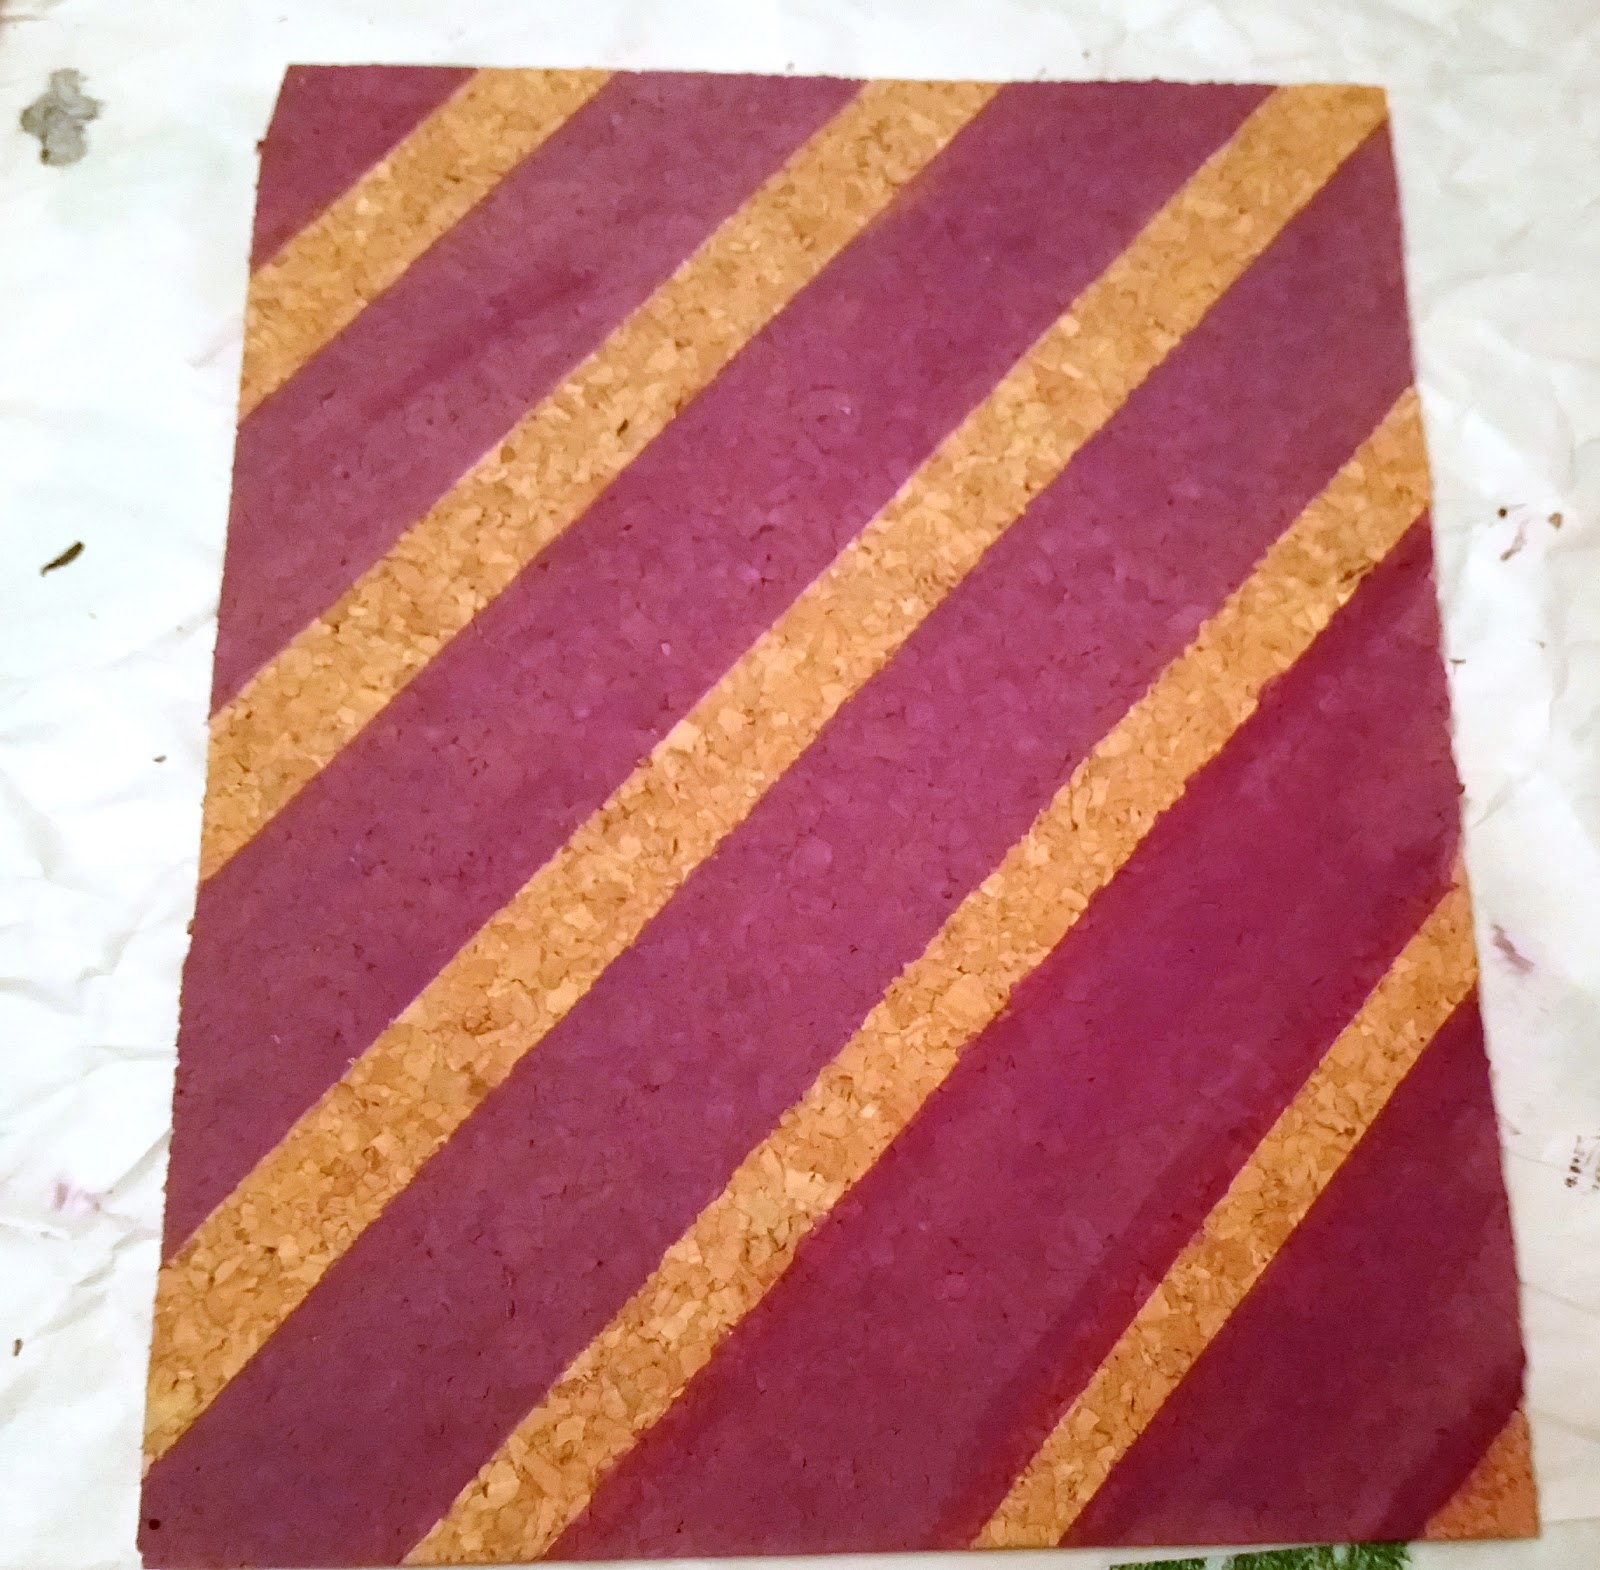
Next use your acrylic paint to paint the board. Again colors are totally up to you. I used the same purple but you could do a rainbow or alternate colors or any style you want. Then once the paint dries remove the tape and reveal your design. I had a few rough edges on some of the bottom lines so I placed the washi tape where the rough edges were and filled it in with more paint to smooth out the line, but I forgot to take a picture of that.
Step Four: Fame it

This cork board was thin enough to easily fit inside the frame and I could replace the backing to hold it in place. However, if your cork is too thick for the backing you can hot glue it in the frame. I like having the backing hold it on there so I can change it out with a different design or go back to using it as a picture frame one day.
Step Five: Add your studs

Now I’ve added my earring and a few necklaces. Before these were in boxes and not on display so I kind of forgot about them and didn’t wear them. Now I see them all the time so I’m more likely to wear them. What I really like about this is that I don’t have to undo the backs of the earring like on my other earring holder (you can kind of see it on the left. I can just pop these (carefully) off and on. And, if you do this craft, then an upcycled Altoids tin would make a great place to keep the earring backs.
What I like the most about this craft is that the frame around the cork board makes this look like a piece of art or an earring holder you bought from a store. I saw similar ones online for about $20 and this cost me nothing. If you don’t have cork you could do this with paperboard you would just have to punch holes in it.
I also like that this earring holder is pretty sturdy. I had an earring holder that was plastic but it broke during my last move, so I like that this cork is not likely to break and the frame is sturdy wood as well. I will say that since I didn’t glue the cork board in place it does move a little when I push the earrings in but I just have to hold it on the back or push gently and it’s not a problem, also putting the earrings in between the cracks in the cork makes it easier to push them in.
This is a pretty quick craft that you can do in maybe an hour depending on how long it takes for the paint to dry. You can also use this as a corkboard for notes and stuff instead of for earrings. Either way I think it would make a nice gift.